
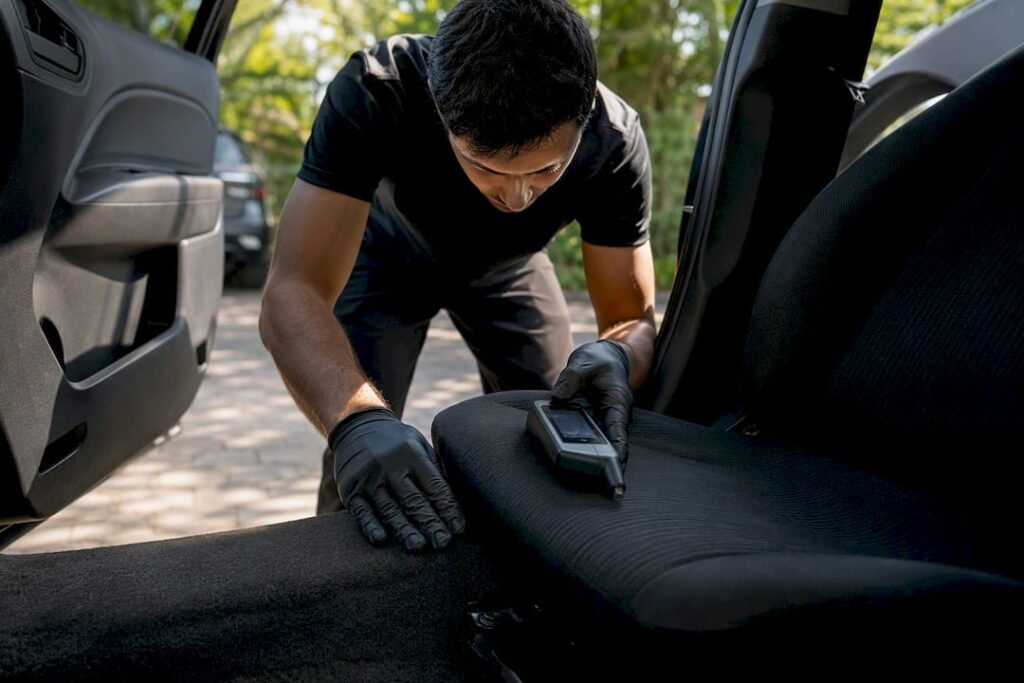
A proper odour removal workflow follows five stages in order: diagnose the source, remove or contain it, clean and neutralise (never mask), treat the air and HVAC system, then verify with a follow-up sniff test. Professionals lean on the ANSI/IICRC S700 standard, HEPA air scrubbers, and enzymatic cleaners to get this right the first time.
- Skip a step and the smell usually comes back within weeks.
- Biohazard residue, water damage soaking into structural cavities, or contamination inside ductwork are your cue to stop DIY and call a certified technician immediately.
Key Takeaways
Persistent odours only go away for good when the source is physically removed and the residue is chemically neutralised, not masked, then verified with a follow-up check.
| Point | Details |
|---|---|
| Diagnose before you clean | Use moisture mapping, UV inspection, and an olfactory grid to find the true source before applying any product. |
| Neutralise, don’t mask | Enzymatic cleaners and oxidisers break down odour compounds; fragranced sprays only cover them temporarily. |
| Know your escalation triggers | Porous material saturation, HVAC contamination, or biohazard residue mean it’s time to call a certified technician. |
| Verify with a follow-up check | Confirm success with a second olfactory check and moisture reading 24 to 48 hours after treatment. |
| Mobile odour removal for vehicles | Isaac’s Pro Detailing applies enzymatic treatment, ozone deodorisation, and HEPA/carbon cabin filtration on-site across the Sunshine Coast. |
Table of Contents
- The odour removal workflow, step by step
- How do you find the real source of a bad smell?
- When does odour removal require material removal?
- Neutralising odours vs masking them: what’s the difference?
- What equipment do professionals use for odour removal?
- How long does odour removal take and what does it cost?
- Keeping odours from coming back
- What certifications should you look for in a contractor?
- What most people get wrong about odour removal
- Getting professional odour removal without the hassle
- Where to go for deeper reading
- Frequently asked questions
- Sources
The odour removal workflow, step by step
Work through these steps in order. Skipping ahead to “cleaning” before you’ve found the source is the single most common mistake people make.
- Contain and ventilate. Open windows if it’s safe, isolate the affected room from HVAC airflow, and stop anyone from spraying air freshener over the problem.
- Inspect and test. Walk the space with a moisture meter and your nose. Note every surface, drain, and appliance that smells stronger up close.
- Remove the source. Pull out or discard anything too saturated to clean, bag it, and get it out of the building.
- Clean and neutralise. Apply an enzymatic or oxidising treatment matched to the odour type, not a fragrance.
- Treat the air and ducts. Run a HEPA air scrubber with activated carbon; inspect and clean HVAC components if air was recirculating during contamination.
- Dry and verify. Use air movers and a dehumidifier, then re-check by smell and moisture reading 24 to 48 hours later.
- Maintain. Schedule ongoing checks so the source doesn’t quietly re-establish itself.
- If odour has soaked into drywall, underlay, or insulation, DIY cleaning won’t reach it. That’s a removal job.
- If ozone, hydroxyl, or thermal fogging seems necessary, that’s a professional call. These treatments have real occupancy and safety restrictions.
Pro Tip: Never spray a deodoriser or masking product before you’ve located and removed the actual source. It buries the smell under a false negative and wastes the money you’ll spend fixing it properly later.
How do you find the real source of a bad smell?
Visible sources are the easy half: rubbish bins, drains, chutes, appliance seals, upholstery, and anything with obvious biological residue. The hard half is what’s hiding behind a wall cavity or inside your return air duct.
Run a simple olfactory grid: walk the room in a pattern, noting where the smell peaks. Pair that with a moisture meter along skirting boards and under furniture, a UV torch for biological residue on fabric or flooring, and a look inside HVAC intakes and diffusers, where recirculated air often carries a smell far from its actual source. A borescope earns its keep for wall cavities and under cabinetry you can’t otherwise see into.
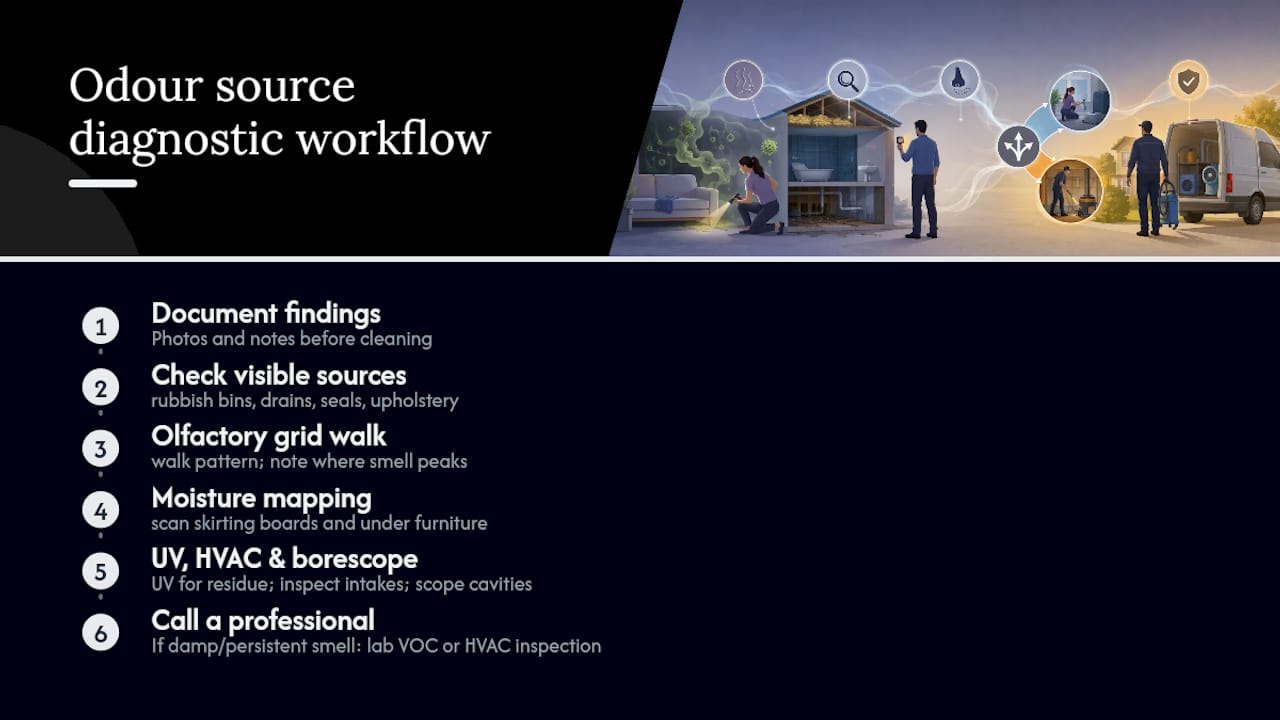
If moisture mapping shows damp behind a wall, or the smell persists after obvious sources are cleaned, that’s the point to bring in a professional for lab VOC sampling or an HVAC contractor inspection, rather than guessing further.
Pro Tip: Document where the smell is strongest with photos and notes before you start cleaning. If you need to hand the job to a contractor, that record saves them re-diagnosing from scratch.
When does odour removal require material removal?
Some sources can’t be cleaned; they have to be taken out. Carpet underlay soaked with pet urine, water-damaged insulation, porous drywall that’s absorbed smoke or decomposition odour, and heavily soiled upholstered cushions typically fall into this category.
Containment matters before you start pulling material out. Set up physical barriers, run negative air pressure where possible, and seal off HVAC vents in the affected zone so contaminated air doesn’t spread to the rest of the building.
- Physical barriers and sealed doorways to isolate the work zone
- Negative air pressure equipment for larger jobs
- Full PPE (gloves, respirator, eye protection) whenever biofluids, mould, or decomposition are involved
Once material has to come out, a same-day clean has usually become a multi-day restoration job. Experts on delayed odour response note that waiting too long lets odour penetrate porous materials, turning a simple wipe-down into demolition and rebuild.
Neutralising odours vs masking them: what’s the difference?
Masking covers a smell with a stronger one. Neutralising breaks the odour-causing compound down at a molecular level so there’s nothing left to smell. Only one of those actually solves the problem.
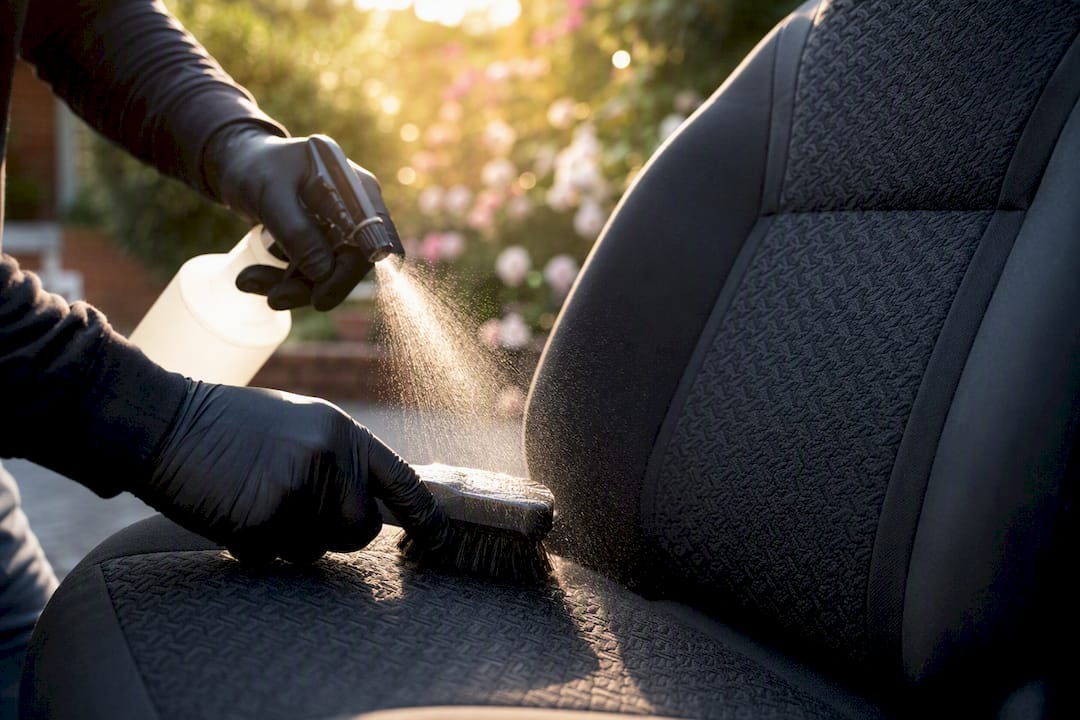
Enzymatic cleaners work well on biological odours because the enzymes digest the organic material itself rather than covering it. Oxidisers such as hydroxyl and ozone chemically alter odour molecules, though ozone demands unoccupied spaces and a trained operator. Encapsulants trap residual particles so they can’t off-gas, and activated carbon adsorbs airborne VOCs that liquid treatments can’t reach. Hospital-grade disinfectants round out the kit where microbial contamination is part of the problem.
- Never mix bleach-based products with ammonia or enzymatic cleaners; the reaction can be dangerous, not just ineffective.
- Never run ozone treatment while the space is occupied.
- Don’t reach for a fragranced spray as your first move. It’s the last step, if you need it at all.
Nova Supply’s guide on the topic confirms commercial neutralisers work through chemical bonding or enzymatic reaction rather than scent-masking, which is why they hold up over weeks instead of hours.
Pro Tip: Check the dwell time on the product label. Most enzymatic treatments need 10 to 15 minutes of contact before extraction or rinsing; wiping too soon is one of the most common reasons a “cleaned” smell returns two days later.
What equipment do professionals use for odour removal?
Air movers, dehumidifiers, and HEPA air scrubbers form the baseline kit for almost every job. Air movers speed drying, dehumidifiers pull ambient moisture that feeds mould and bacterial growth, and HEPA units fitted with activated carbon catch both particulates and the VOCs causing the smell.
- Air movers dry wet materials fast enough to stop microbial growth before it starts.
- Dehumidifiers hold humidity low, which slows odour-producing bacteria and mould.
- HEPA air scrubbers with activated carbon filter recirculating air during and after treatment. Standard HEPA media captures particulates while the carbon layer adsorbs VOCs that would otherwise linger.
- Hydroxyl generators and ozone units handle the toughest jobs but come with strict occupancy limits and operator training requirements.
Consumer tools handle small, contained jobs. Anything involving multiple rooms, HVAC contamination, or a persistent VOC signature after initial cleaning is where hiring a technician with the right equipment and PPE starts paying for itself.
How long does odour removal take and what does it cost?
A single-room, surface-level odour job typically resolves in a day or two: inspection, cleaning, air scrubbing, and a follow-up check. Cases involving material removal, HVAC cleaning, or lab testing extend that timeline because demolition and drying both add days before verification can even begin.
Cost tracks with scope. The size of the affected area, whether materials need removing and disposing of as hazardous waste, whether ductwork needs cleaning, and whether specialised equipment like hydroxyl generators or ozone units gets brought in all push the price up or down.
Verification should never be a guess. A defensible workflow includes:
- A documented before/after olfactory check at multiple points in the space
- Moisture readings confirming materials are back to baseline
- An HVAC inspection if air was recirculating during the contamination event
- Clearance testing for lab or air-quality verification on larger commercial jobs
If a contractor can’t walk you through their version of that checklist, ask them to before signing off on the work.
Keeping odours from coming back
Prevention is mostly a scheduling problem, not a product problem. Set a recurring routine and most odour sources never get the chance to re-establish.
- Flush drains with an enzymatic treatment monthly to stop biofilm build-up.
- Change HVAC filters on the manufacturer’s schedule, or sooner in high-traffic or pet-heavy spaces.
- Run a HEPA/activated carbon cycle seasonally in rooms prone to musty or stale air.
- Keep humidity below the range that supports mould and bacterial growth.
Pro Tip: Do a quick olfactory check on the same day each month and jot down anything unusual. A logged pattern is far more useful for catching a problem early than relying on memory.
What certifications should you look for in a contractor?
The ANSI/IICRC S700 standard governs fire and smoke damage restoration, including how HVAC boundaries are assessed and how a Restoration Work Plan gets built. The Odor Control Technician (OCT) certification signals a technician has been trained specifically in olfaction, detection methods, and equipment choices across biological, combustion, and chemical odour sources.
Ask any contractor for their Restoration Work Plan, proof of OCT or equivalent certification, their insurance details, and what clearance testing they’ll run before calling the job done. A contractor who can’t answer all four isn’t ready for a complex job.
What most people get wrong about odour removal
The biggest mistake I see isn’t a bad product choice. It’s waiting. People spray, wait a week, spray again, and by the time they call someone, the smell has soaked into material that now has to come out. Check moisture and airflow paths first, always. Document the job as you go. If you’re handing it to a building manager or a contractor later, a clear record of what you found and when saves everyone a repeat diagnosis.
Getting professional odour removal without the hassle
If your car is the thing holding the smell, whether it’s a wet-dog interior, spilled takeaway that’s soaked into the carpet, or lingering smoke, Isaac’s Pro Detailing runs the same diagnose-then-neutralise workflow described above, but comes to you, following safe steps and ceramic protection to thoroughly clean and protect the engine bay area.
The service covers interior extraction, enzymatic treatment for biological odours, ozone deodorisation for stubborn cases, and cabin air filtration with HEPA and activated carbon, all delivered at your home, office, or wherever your car happens to be parked on the Sunshine Coast. You skip the drop-off, the loan car, and the guesswork of picking a product off a shelf. For a deeper look at how the mobile process fits together end to end, the mobile detailing workflow breaks down what happens on the day. If your dog’s regular co-pilot is part of the odour problem, the pet hair removal guide is worth a read too. Check the wash menu for current packages and book a time that suits.
Where to go for deeper reading
- The IICRC S700 standard sets the professional benchmark for fire and smoke odour work.
- The OCT certification page lists what a properly trained odour technician should know.
- Elephants Foot’s chute-cleaning programme shows how multi-source commercial odours get solved in stages.
Frequently asked questions
What’s the fastest way to remove a bad smell from a room?
Find the source first. Spraying a masking product before locating and removing the actual cause just delays the real fix and wastes time.
Can I run an odour removal workflow myself, or do I need a professional?
Surface-level odours in contained areas are usually manageable yourself with enzymatic cleaners and a HEPA air scrubber. Anything involving porous material saturation, HVAC contamination, or biohazard residue needs a certified technician.
How do I know if odour removal has actually worked?
Do a follow-up olfactory check 24 to 48 hours after treatment, alongside a moisture reading if water was involved. If the smell returns, the source wasn’t fully removed.
Is ozone treatment safe to use at home?
Ozone can be effective, but it requires an unoccupied space and a trained operator. It’s not a DIY tool for occupied residential rooms.
Why does my car still smell after I’ve cleaned it?
The odour has likely soaked into the carpet underlay or seat foam rather than just the surface fabric. A step-by-step interior cleaning approach that includes extraction, not just surface wiping, usually resolves it.
Sources
- IICRC S700 published press release
- How to eliminate waste odours in apartment buildings: odour control services — Elephants Foot
- Odour neutralising cleaners Australia: how they work & best uses — Nova Supply