
Crumbs in the seats, stubborn stains on the carpet, and a streaky finish can make any Sunshine Coast morning feel rushed before the day begins. Finding time for a thorough car clean that aligns with your eco-values is no small feat for busy families and professionals. By focusing on an organised space and eco-friendly detailing products, you can achieve exceptional results with minimal impact, all while fitting car care seamlessly into your hectic schedule.
Table of Contents
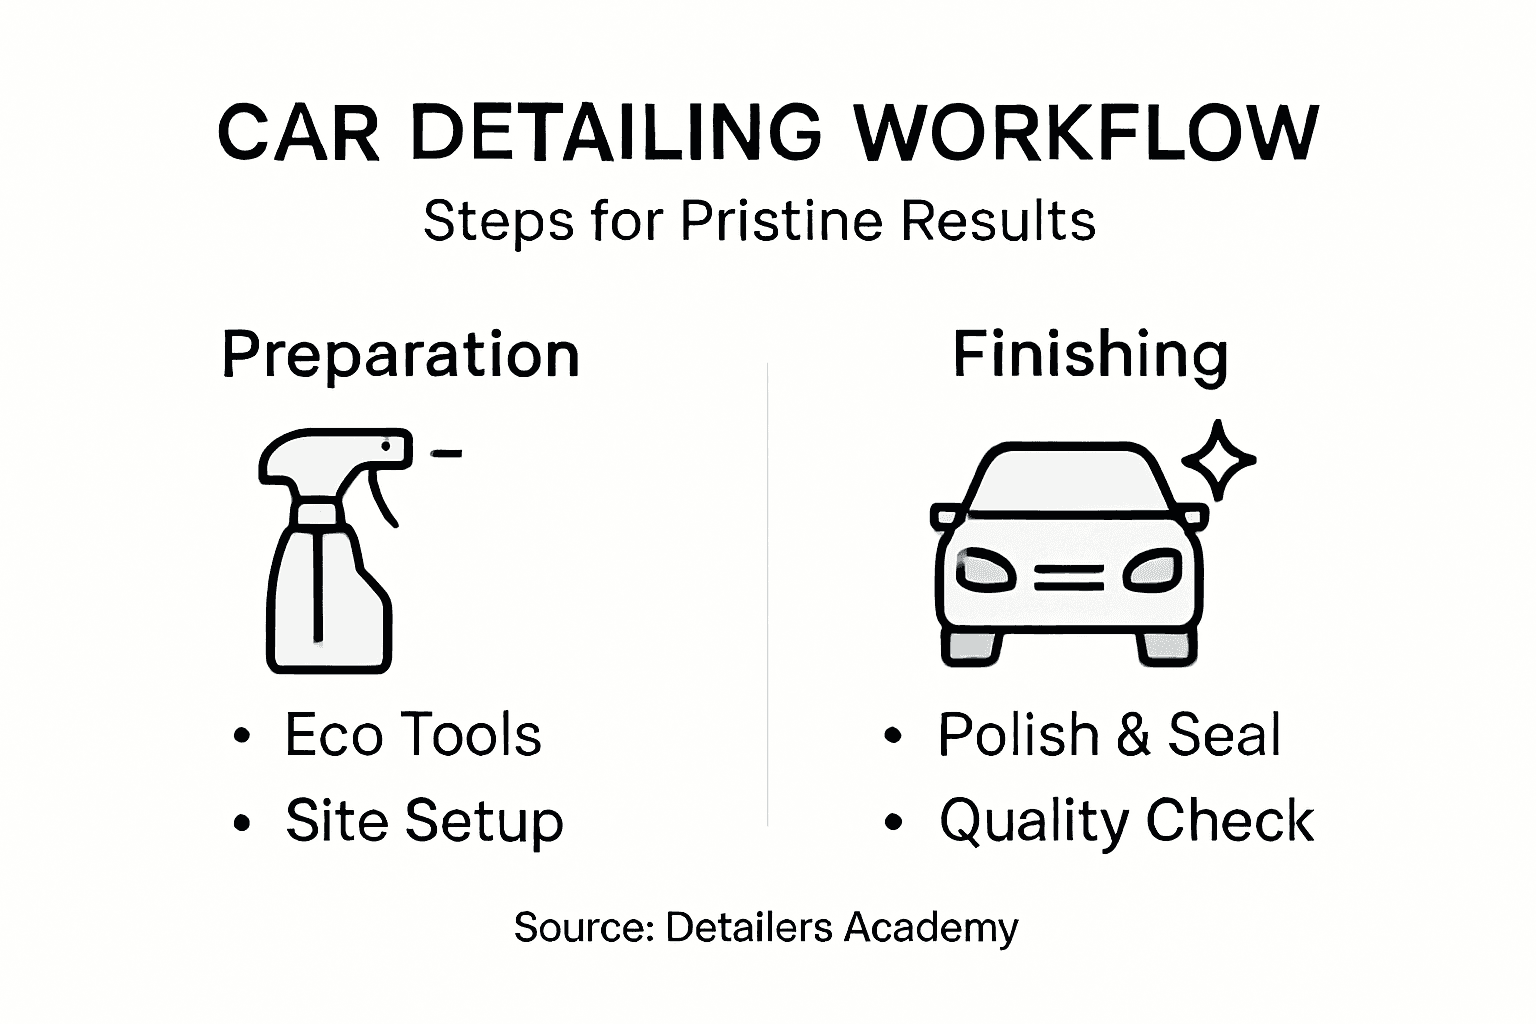
- Step 1: Prepare Site And Gather Eco-Friendly Detailing Tools
- Step 2: Clean Interior And Extract Seats And Carpets Thoroughly
- Step 3: Enhance Exterior With Cut, Polish And Protective Coatings
- Step 4: Verify Quality And Address Finishing Touches
Quick Summary
| Key Point | Explanation |
|---|---|
| 1. Prepare with eco-friendly tools | Select biodegradable products and a two-bucket washing method to conserve water and minimise chemical runoff. |
| 2. Clean and extract thoroughly | Vacuum all surfaces first, then utilise proper extraction techniques to remove embedded dirt and odours from the interior. |
| 3. Assess paint condition first | Evaluate your vehicle’s paint for imperfections before beginning cutting or polishing to ensure proper treatment. |
| 4. Use protective coatings post-polish | Apply sealants or ceramic coatings after polishing to enhance protection and maintain the vehicle’s finish longer. |
| 5. Conduct thorough quality checks | Inspect for any missed areas, residues, or watermarks, ensuring every part is clean and ready for client presentation. |
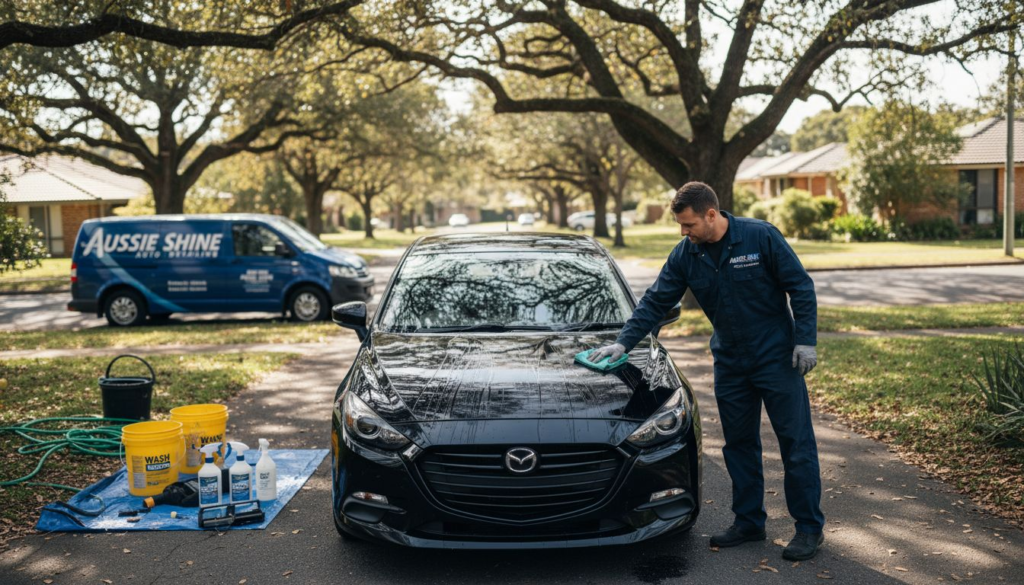
Step 1: Prepare site and gather eco-friendly detailing tools
Before you start detailing, you need a clean, organised space and the right eco-conscious products. This step ensures you work efficiently whilst minimising water waste and chemical runoff. Your site preparation and tool selection directly influence the quality of results and environmental impact.
Start by choosing your location wisely. Pick a spot that drains naturally or has a grated drainage system to catch soapy water. Avoid areas with water restrictions or sealed surfaces that prevent water from flowing safely away. If you’re detailing at someone’s home, check their driveway slope and confirm they’re comfortable with water runoff before beginning.
Now gather your eco-friendly detailing essentials. Here’s what you’ll need:
- Biodegradable shampoo and cleaning solutions that break down naturally
- Two-bucket wash system with one for soapy water and one for rinsing your wash mitt
- Wool wash mitts that are gentler on paint than synthetic alternatives
- Low-flow hose or waterless spray equipment to reduce water consumption
- Microfibre cloths for drying and buffing without scratching
- Eco-friendly interior protectors for seats, plastics, and trim
Using eco-friendly detailing products not only protects the environment but also ensures you’re working with safer chemicals. The two-bucket method conserves water by allowing you to rinse your mitt without constantly running the hose.
Organise everything within arm’s reach of your work zone. Group similar items together, keep your buckets filled and ready, and position your hose so you can reach the entire vehicle without moving buckets repeatedly. This setup saves time and reduces unnecessary water usage throughout the job.
Here’s a quick reference comparing eco-friendly detailing tools and their environmental impact:
| Tool or Product | Environmental Benefit | Professional Advantage |
|---|---|---|
| Biodegradable shampoo | Reduces chemical runoff | Safer for users and the environment |
| Two-bucket wash system | Minimises water usage | Prevents swirl marks on paint |
| Wool wash mitt | Less resource-intensive to make | Extra gentle on car paintwork |
| Low-flow hose/spray | Reduces water consumption | Speeds up washing, less mess |
| Microfibre cloths | Reusable, less waste produced | Streak-free drying and buffing |
| Eco interior protectors | Fewer harsh residues | Safe for family and pets |
Your eco-friendly tool selection determines both the quality of your finish and the environmental footprint of every detail.
Pro tip: Fill your buckets with water the night before and add grit guards to the bottom. Grit guards trap dirt particles at the bottom of your rinse bucket, keeping your wash mitt cleaner for longer and extending the life of your soapy water.
Step 2: Clean interior and extract seats and carpets thoroughly
This step transforms your vehicle’s interior from dusty and stained to fresh and hygienic. You’ll remove embedded dirt, eliminate odours, and restore fabrics and leather to their original condition using professional extraction techniques.

Start by removing any loose items from the vehicle. Take out floor mats, rubbish, and personal belongings so you have full access to every surface. This clears your workspace and prevents anything from getting wet during the extraction process.
Begin with thorough vacuuming of all surfaces. Move systematically through the car, hitting seats, carpets, floor mats, and the boot. Use a high-powered vacuum with upholstery attachments to pull out dust and debris from fabric crevices. Pay special attention to seams where dirt accumulates.
Once vacuumed, apply shampooing and extraction methods suited to your vehicle’s materials. Here’s your process:
- Pre-treat stained areas with targeted upholstery cleaner
- Apply shampoo solution to seats and carpets using a brush suitable for the fabric type
- Let the solution sit for 5-10 minutes to break down dirt
- Extract using hot water and a professional-grade extractor, working in overlapping passes
- Make a final pass with clean water only to rinse residue
Work one section at a time rather than treating the entire interior at once. This prevents over-wetting and ensures even cleaning. Pay extra attention to high-traffic areas like driver and passenger seats where stains concentrate.
For leather surfaces, use dedicated leather cleaner rather than fabric products. Apply gently and extract with care to avoid damage. Allow proper drying time between treatments.
Deep extraction pulls moisture and embedded dirt that surface cleaning cannot reach, revealing the vehicle’s true condition.
Pro tip: Crack windows slightly to aid air circulation during and after extraction, reducing drying time and preventing moisture build-up that can cause musty odours.
Step 3: Enhance exterior with cut, polish and protective coatings
This step reveals your vehicle’s true potential by removing surface imperfections and applying long-lasting protection. You’ll transform a dull, scratched finish into a brilliant, glossy surface that turns heads.
Start by assessing your paint condition in bright daylight. Look for swirl marks, fine scratches, oxidation, and water spots. Run your hand across the paint to feel for roughness. This evaluation determines whether you need a single-stage polish or a full cut and polish treatment.
Begin with machine polishing if your paint shows significant damage. A cut and polish treatment carefully abrades the clear coat to remove imperfections whilst restoring gloss and smoothness. Here’s your sequence:
- Tape off trim and rubber seals to protect them from compound
- Apply cutting compound to a small section at a time
- Work the compound using a dual-action polisher with overlapping passes
- Buff away residue with a clean microfibre cloth
- Move to the next section, ensuring even coverage
After cutting and polishing, your paint looks dramatically improved but remains vulnerable to the environment. This is where protective coatings become essential.
Apply a quality paint sealant or ceramic coating to lock in your hard work. Sealants provide 3-6 months of protection, whilst ceramic coatings offer 12-24 months or longer. Apply in thin, even layers following product instructions, working section by section.
Don’t neglect wheels and trim. Ceramic wheel coatings prevent brake dust adhesion, whilst trim sealers protect plastic from fading and cracking. These finishing touches complete your exterior transformation.
Here is a comparison of protective coatings and their durability:
| Coating Type | Expected Protection Duration | Main Benefit |
|---|---|---|
| Paint sealant | 3-6 months | Easy to apply, affordable |
| Ceramic coating | 12-24 months or longer | High durability, strong gloss |
| Wheel ceramic | Up to 12 months | Resists brake dust, easy cleaning |
| Trim sealer | 6-12 months | Prevents fading and cracking |
Proper protection after cutting and polishing preserves your results and shields your investment from Sunshine Coast’s harsh sun and salt air.
Pro tip: Allow 24-48 hours curing time before exposing the vehicle to water or rain after applying ceramic coatings. Patience here pays dividends in durability.
Step 4: Verify quality and address finishing touches
This final step separates professional results from mediocre ones. You’ll inspect every surface, eliminate watermarks and residual spots, and ensure your customer receives a vehicle in showroom condition.
Start your inspection in bright daylight or under quality lighting. Walk around the entire vehicle slowly, examining paint, trim, glass, and wheels from multiple angles. Look for swirl marks you may have missed, polish residue, or uneven coating application.
Move to the interior and conduct a thorough walkthrough. Check all seats for cleanliness, inspect carpets for damp patches or missed stains, and verify that trim and dashboard surfaces are dry and spotless. Open doors, check door jambs, and ensure no detailing products remain on hinges or seals.
Address quality control details systematically. Here’s your finishing checklist:
- Buff any remaining polish haze with a clean microfibre cloth
- Wipe windows and glass inside and out for crystal clarity
- Remove watermarks using a microfibre cloth and a touch of water
- Check for missed spots on trim, wheels, and lower body panels
- Ensure drying is optimised to prevent watermarks forming later
- Verify all protective coatings are evenly applied
Pay special attention to areas where water pools or drains slowly. Towel-dry these spots thoroughly to prevent watermark formation. Check along trim lines, around badges, and near rubber seals where moisture hides.
Inspect your work from the owner’s perspective. Sit in the driver’s seat and look around. Check visibility through windows and mirrors. Your goal is showroom quality both aesthetically and functionally.
Quality control is where attention to detail transforms good detailing into exceptional detailing that clients remember and recommend.
Pro tip: Take photos of your completed work in natural sunlight before handing the vehicle back. This documents your quality and protects your reputation if questions arise later.
Achieve Pristine Car Detailing Results with Convenience at Your Doorstep
Transforming your vehicle with expert care requires not just the right techniques but also the right partner who understands your needs and the environment. From eco-friendly preparation and thorough interior extraction to professional cut and polish plus advanced protective coatings, mastering each step ensures your car looks flawless while staying protected. If time constraints and access to quality equipment hold you back from achieving these showroom finishes, Isaac’s Pro Detailing Sunshine Coast offers the perfect solution by bringing premium mobile detailing services direct to you.
Experience the convenience of on-site interior cleaning, precise exterior enhancement, and durable ceramic coatings performed by experts who prioritise both meticulous results and ecological responsibility. Don’t wait to give your car the complete wellness it deserves. Visit Isaac’s Pro Detailing now to explore tailored service packages designed for busy Sunshine Coast vehicle owners. Book today and preserve your investment with professional care that matches the workflow mastery highlighted in this guide.
Frequently Asked Questions
How can I prepare my site for mobile car detailing?
To prepare your site effectively, choose a location with natural drainage and avoid sealed surfaces. Set up your eco-friendly detailing tools within arm’s reach and organise them for efficient access throughout the detailing process.
What are the key tools needed for eco-friendly car detailing?
Essential tools for eco-friendly car detailing include biodegradable shampoo, a two-bucket wash system, wool wash mitts, a low-flow hose or waterless spray, microfibre cloths, and eco-friendly interior protectors. Gather these tools to minimise water usage and reduce chemical runoff during your detailing work.
How do I clean the interior of a vehicle thoroughly?
Start by removing all loose items from the vehicle, including floor mats and rubbish, then vacuum all surfaces using a high-powered vacuum. Follow up with targeted cleaning and extraction methods, treating stained areas before shampooing carpets and seats to achieve thorough cleanliness.
What steps should I follow for polishing and protecting the vehicle’s exterior?
Begin by assessing the paint condition under bright light, then use a cutting compound for significant damage before applying a paint sealant or ceramic coating. This ensures a glossy, protected finish that remains durable against environmental elements.
How can I perform quality control on my car detailing work?
Conduct a thorough inspection in bright lighting to identify any missed spots or haze. Check all surfaces, including windows and glass, for clarity and ensure drying is optimised to prevent watermarks from forming.
What precautions should I take when applying protective coatings?
Allow 24-48 hours of curing time after applying ceramic coatings before exposing the vehicle to water or rain. This step is crucial for ensuring the longevity and effectiveness of the protective finish.