
TL;DR:
- A structured car paint enhancement checklist involves thorough washing, decontamination, defect assessment, polishing, and protection to maintain gloss and safeguard against damage. Proper preparation and matching correction techniques to paint condition are essential to prevent unnecessary harm, with routine maintenance prolonging the results. Professional help is recommended for severe damage or complex correction needs to ensure long-lasting, high-quality finishes.
Your car’s paint faces a daily assault. Sun, bird droppings, road grime, and improper washing all chip away at that glossy finish you paid good money for. Following a structured paint enhancement checklist takes the guesswork out of the process and means you are not spending weekends polishing only to end up with swirl marks you created yourself. Whether you want to tackle the job yourself or understand what a professional does, these steps cover everything from safe washing through to long-term protection.
Table of Contents
- Key takeaways
- 1. Your paint enhancement checklist starts with a proper wash
- 2. Decontaminate the surface before anything else
- 3. Inspect and assess paint defects in good lighting
- 4. Dry safely and evaluate before polishing
- 5. Choose the right polishing approach for your paint condition
- 6. Apply a protective coating to lock in the results
- 7. Maintain your results with routine care
- What I have learnt after years of correcting other people’s mistakes
- Let the professionals handle the hard part
- FAQ
Key takeaways
| Point | Details |
|---|---|
| Prep work determines results | Thorough surface decontamination before polishing removes embedded grit that would otherwise cause new scratches. |
| Match correction to condition | Choosing the right polish grade based on actual defect severity protects paint thickness and avoids unnecessary damage. |
| Protection extends the work | Applying a quality coating after polishing locks in gloss and dramatically reduces how often you need to correct again. |
| Routine care is your best investment | Safe washing habits and quick contaminant removal preserve coating integrity far longer than any single treatment. |
| Professional help saves paint | Complex correction work on thinned or heavily damaged paint is better left to an experienced detailer to avoid irreversible harm. |
1. Your paint enhancement checklist starts with a proper wash
Before any polish or correction product touches your paint, the surface must be spotlessly clean. A contaminated surface turns a polishing pad into sandpaper.
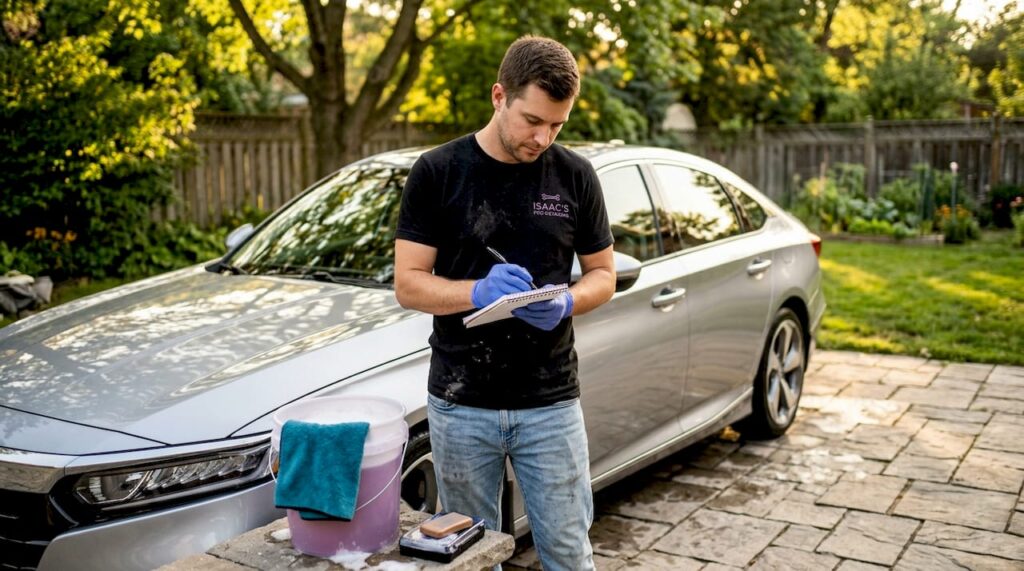
Using a pH-neutral shampoo with a clean microfibre wash mitt is the foundation of every surface preparation guide worth following. Work with two separate buckets: one for your shampoo solution, one for rinsing your mitt. This two-bucket method keeps grit out of your wash water and off your paint.
- Rinse the car thoroughly from top to bottom before touching it
- Wash in straight lines, not circles, to avoid creating swirl patterns
- Use a dedicated mitt for wheels so brake dust stays away from body panels
- Never let shampoo dry on the surface in direct sunlight
Pro Tip: If you are washing outdoors, work in sections and rinse each panel before moving on. This is especially relevant on the Sunshine Coast where warm temperatures dry soap surprisingly fast.
2. Decontaminate the surface before anything else
A clean car is not necessarily a decontaminated car. After washing, run a clean finger across a panel. If it feels rough or gritty, you have embedded contamination that washing alone cannot shift.
Clay bar treatment pulls out bonded contaminants including industrial fallout, tree sap residue, and tar spots. Work with a dedicated clay lubricant and light pressure, moving in straight lines. The clay will grab initially and then glide freely once the contamination is gone.
For tar spots and heavy road film, a dedicated tar remover applied before claying saves the clay bar from getting overloaded. Iron removers (sometimes called fallout removers) address metallic brake dust particles that are particularly common if your car is parked near roads or rail lines. You will often see the product turn purple as it reacts with ferrous contamination.
3. Inspect and assess paint defects in good lighting
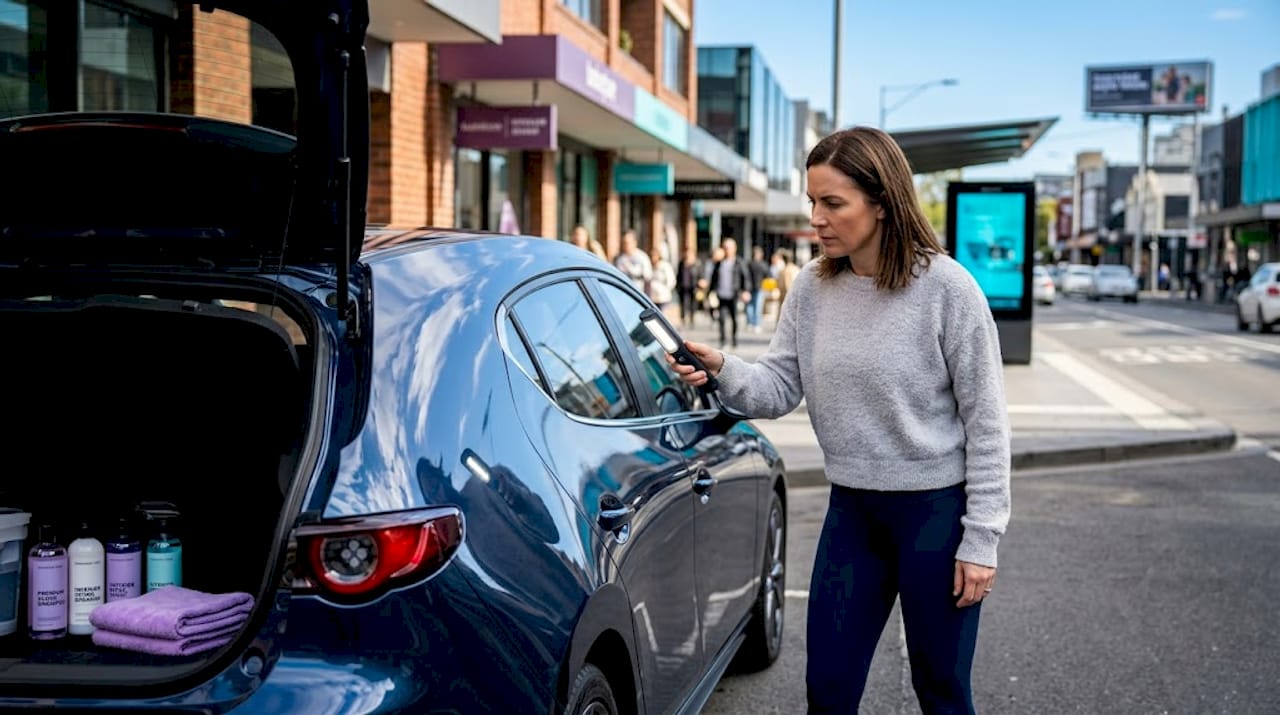
This step separates informed paint care from guesswork. Working under direct LED lighting or a detailing work light reveals defects that are invisible under ordinary conditions.
What you are looking for:
- Swirl marks: Fine circular scratches from improper washing, very common on dark-coloured vehicles
- Light scratches: Shallow marks that catch your fingernail
- Deep scratches: Marks that penetrate the clear coat or reach primer
- Oxidation: Chalky, dull, or faded areas from prolonged UV exposure
- Water spots: Mineral deposits left behind after water evaporation
Deep scratches that reach metal require touch-up paint rather than polishing. Attempting to polish them out will simply thin the surrounding clear coat. Being honest about what polish can and cannot fix is the difference between a satisfying result and an expensive mistake.
4. Dry safely and evaluate before polishing
Drying with a soft microfibre towel or a dedicated drying towel prevents swirl marks from being introduced at the very last moment of prep. Pat the surface rather than dragging the towel across it. A forced air blower is even better for clearing water from panel gaps where it would otherwise drip down onto a freshly polished surface.
Once dry, evaluate the paint in your working light one final time. Note the location and severity of defects. This assessment directly determines what correction level comes next.
5. Choose the right polishing approach for your paint condition
This is where the paint correction checklist meets real decision-making. Paint enhancement reduces minor imperfections like swirl marks and light oxidation without the aggressive compounding used in full correction. Matching the approach to the actual condition of your paint is what protects paint thickness and avoids unnecessary removal of clear coat.
Here are the main approaches, from least to most aggressive:
- Single-stage polish: A light finishing polish applied by hand or with a machine at low speed. Suitable for paint in good condition with only minor swirls and haze. Improves gloss and clarity without significant defect removal.
- Paint enhancement stage: A slightly more abrasive finishing polish that removes light swirl marks and surface oxidation. This sits between a simple gloss boost and true correction. Improvements in gloss and clarity are visible without aggressive compounding.
- Two-stage correction: A compound stage removes deeper defects, followed by a finer polish to refine the finish and remove any light marks left by the compound. Recommended for paint with moderate scratching or noticeable oxidation.
- Three-stage correction: Adds a heavy-cut compound as the first stage before refining with medium and fine products. Reserved for paint in poor condition with deep scratches, severe oxidation, or paint that has never been properly maintained. Multi-stage polishes use increasingly finer compounds to achieve maximum gloss.
Pro Tip: If you are unsure of your paint thickness, a paint depth gauge is a worthwhile investment before any machine polishing. Thinned clear coat from previous over-correction is extremely common on older vehicles and fundamentally changes what is safe to do.
For detailed step-by-step polishing methods, the guide on vehicle polishing techniques covers pad selection and machine settings in depth.
6. Apply a protective coating to lock in the results
Polishing without protecting afterwards is like mopping a floor and then walking across it with muddy boots. All that work disappears quickly without a proper coating sealing the surface.
Here is how the main protection options compare:
| Protection type | Durability | Gloss boost | Hydrophobic effect | Best suited for |
|---|---|---|---|---|
| Carnauba wax | 6-12 weeks | Warm, deep look | Moderate | Show cars, infrequent drivers |
| Synthetic sealant | 3-6 months | Clear, bright gloss | Good | Daily drivers wanting low maintenance |
| Ceramic coating | 2-5 years | Exceptional clarity | Excellent | Drivers wanting long-term protection |
| Paint protection film (PPF) | 5-10 years | Preserves factory finish | High (hydrophobic top coats) | High-impact areas like bonnets and bumpers |
Ceramic coatings boost gloss, repel dirt, and ease washing through water beading, but they do not prevent stone chips or deep scratches. For bonnet leading edges and door edges where stone damage is common, PPF is the smarter choice. PPF applied early acts as a physical barrier against chips and road debris, though it does nothing for existing damage already on the surface.
Pro Tip: Ceramic coatings require a fully decontaminated and corrected surface to bond properly. Applying one over swirl marks and contamination locks all of that in permanently. Do not skip the prep.
For a deeper look at coating options suited to the Sunshine Coast climate, the paint protection guide covers regional considerations including UV intensity and salt air exposure.
7. Maintain your results with routine care
Getting a great finish is satisfying. Keeping it requires habits, not heroics.
Regular maintenance washing with safe products is the single biggest thing you can do to prolong the life of any coating and reduce how often your paint needs correction. Here is what a solid maintenance routine looks like:
- Wash every one to two weeks with pH-neutral shampoo and a clean microfibre mitt
- Remove bird droppings, bug splatter, and tree sap immediately. These contaminants are acidic and begin etching the clear coat within hours in warm conditions
- Use a quick detailer spray after washing to boost gloss and add a light layer of protection between full washes
- Avoid automatic tunnel washes. The brushes and harsh chemicals in most drive-through car washes are among the leading causes of swirl marks on otherwise well-maintained paint
- Inspect your paint every three to four months in good lighting to catch new defects early
Spot corrections and touch-up polishes can address minor new defects between full enhancement sessions. Catching and correcting a small cluster of swirls early takes fifteen minutes. Leaving them to accumulate means a full correction job later.
For those building out a complete protection routine, the vehicle protection checklist from RPM Warranty is a useful companion for broader vehicle care beyond paint.
What I have learnt after years of correcting other people’s mistakes
The most common issue I see when a vehicle arrives for paint correction is not neglect. It is well-meaning owners who rushed the prep stage. They washed the car, jumped straight to polishing, and ground surface grit into the paint with every pass of the machine. The result looks worse than before.
Preparation genuinely transforms results. I would rather spend ninety minutes washing, claying, and inspecting a vehicle than thirty minutes and end up chasing problems I created.
The other thing I see constantly is mismatched protection choices. Someone in a coastal area who parks under trees uses a carnauba wax that needs redoing every six weeks. They do the first application, life gets busy, and three months later the paint is unprotected and stained with sap. Ceramic coating would have required one proper application and minimal upkeep. Matching the protection to your actual lifestyle and environment is not a luxury consideration. It is practical.
If there is one thing I tell every vehicle owner I work with, it is this: the checklist is not about perfection on day one. It is about making decisions you will not regret in two years when you look at your paint under a light.
— Isaac’s
Let the professionals handle the hard part

If you have worked through this guide and realised your paint needs more than a DIY polish can deliver, Isaac’s Pro Detailing on the Sunshine Coast can help. The fully mobile service means no drop-off or waiting rooms. The team comes to you at home, at work, or wherever suits.
From full paint correction and ceramic coating application through to routine maintenance details, the mobile detailing workflow is built around thorough preparation and lasting results. If your paint has years of swirl marks, oxidation, or contaminants that washing simply cannot shift, this is the right next step.
FAQ
What does a paint enhancement checklist include?
A paint enhancement checklist covers washing, decontamination, defect inspection, polishing, protective coating application, and routine maintenance steps. Following each stage in sequence gives you lasting gloss and protection.
How do I know if my car needs paint correction or just enhancement?
If you can see swirl marks and light oxidation but no deep scratches, a paint enhancement stage is usually enough. Deep scratches, heavy oxidation, or paint that looks chalky generally require a two or three-stage correction process.
Can I apply a ceramic coating myself?
Yes, but the surface must be completely decontaminated and corrected first. Any imperfections present at the time of application get permanently sealed in. First-time applicators often benefit from starting with a simpler synthetic sealant to build confidence.
How often should I wash my car to protect the paint?
Washing every one to two weeks with pH-neutral shampoo and a microfibre mitt is the standard recommendation for maintaining paint protection coatings and reducing the build-up of contaminants that cause etching.
Does PPF replace the need for polishing?
No. PPF is a physical barrier applied over existing paint to protect against future stone chips and road debris. It does not correct defects already present in the paint. Polishing should be completed before PPF application for the best result.