
TL;DR:
- Properly identifying your fabric’s cleaning code is essential to prevent damage and ensure effective cleaning of car upholstery.
- Always vacuum thoroughly before any wet cleaning, blot spills instead of rubbing, and allow complete drying to avoid odours and mould growth.
Your car seats take a beating. Coffee spills on the morning commute, muddy boots from a weekend hike, sunscreen smeared across the rear seat from the kids. Having a reliable fabric cleaning guide specific to car interiors makes the difference between upholstery that looks fresh for years and seats that develop permanent stains, musty smells, and deteriorating fibres. The problem is that most general cleaning advice ignores automotive fabrics entirely, leaving car owners guessing at methods that can cause real damage. This guide fixes that.
Table of Contents
- Key takeaways
- Your fabric cleaning guide starts with the codes
- Tools and preparation before you begin
- Step-by-step cleaning methods
- Post-cleaning care and drying
- Troubleshooting problems and knowing when to stop
- My honest take on car fabric cleaning
- Let Isaac’s Pro Detailing handle the hard part
- FAQ
Key takeaways
| Point | Details |
|---|---|
| Read the cleaning code first | Upholstery tags carry W, S, WS, or X codes that dictate which cleaning methods are safe for your fabric. |
| Vacuum before any wet cleaning | Removing loose grit and debris before applying moisture prevents abrasion and deeper soil embedding. |
| Blot, never rub | Blotting liquid spills stops stains spreading; rubbing pushes them deeper into the weave and worsens damage. |
| Dry thoroughly after cleaning | Moisture trapped in seat foam causes odours and mould. Open windows and use airflow to speed drying. |
| Know when to call a professional | Persistent stains, dye runs, foam saturation, or mould growth signal that DIY has reached its limit. |
Your fabric cleaning guide starts with the codes
Before you touch your seats with any product, you need to know what fabric you are dealing with. Every piece of upholstered furniture and most automotive fabrics carry a cleaning code, and ignoring these codes is the fastest way to permanently ruin your interior.
Here is what each code means in practice:
| Code | Meaning | Safe methods | Risk of getting it wrong |
|---|---|---|---|
| W | Water-based cleaners only | Water, foam upholstery cleaner | Low if used correctly |
| S | Solvent-based cleaners only | Dry-cleaning solvents | Colour bleed, shrinkage with water |
| WS | Water or solvent-based cleaners | Both options safe | Minimal with correct dilution |
| X | Vacuum only | Dry brushing and vacuuming | Permanent damage from any moisture |
Using water on an S-coded fabric is one of the most common DIY disasters. Water on solvent-only fabrics can cause colour bleeding, shrinkage, or texture distortion that cannot be reversed. Fabrics coded X require vacuuming only and professional dry cleaning for any actual stains.
Check the tag under the seat or in your vehicle’s interior trim documentation. If there is no tag visible, treat the fabric as S-coded until you can confirm otherwise. That conservative approach protects you from the worst outcomes.
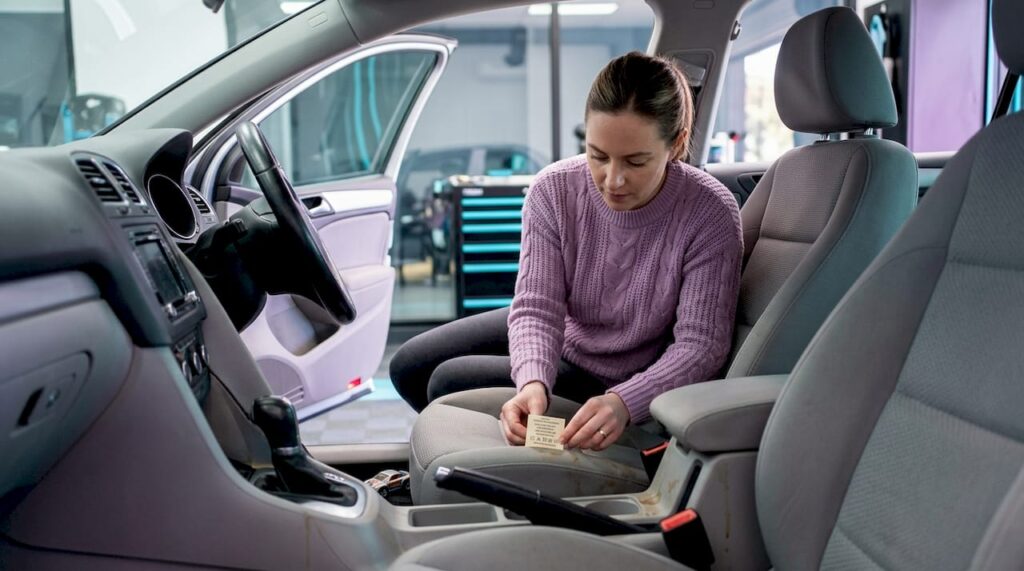
Pro Tip: Before applying any cleaner to a visible area, test it on a hidden section of the seat such as the back panel near the floor. Wait five minutes and check for colour change or texture shift before proceeding.
Spot-tests on hidden areas are not just precautionary. They are the single most reliable way to avoid irreversible dye migration or water rings on your upholstery.
Tools and preparation before you begin
Getting the right setup before you start cleaning saves you from creating new problems mid-process. Rushing in with a wet cloth and household cleaner is how most DIY attempts go wrong.
Here is what you need before any cleaning session:
- A vacuum cleaner with a narrow crevice tool and an upholstery attachment
- Microfibre cloths in multiple sizes (smaller ones for tight spots)
- A spray bottle for controlled product application
- Upholstery cleaner matched to your fabric code (water-based for W and WS, solvent-based for S)
- A soft-bristle brush for working product into the weave
- A portable fan or access to a dry, ventilated space for drying
| Tool | Function |
|---|---|
| Crevice vacuum tool | Removes embedded grit from seams and between cushions |
| Microfibre cloths | Lifts residue without abrading fabric fibres |
| Soft-bristle brush | Works cleaner gently into weave without spreading stain |
| Spray bottle | Controls product volume and prevents oversaturation |
| Portable fan | Accelerates drying and reduces mould risk |
The preparation step most people skip is thorough vacuuming. Vacuuming high-contact areas before any wet cleaning is not optional. Grit left on the surface becomes abrasive when wet, grinding into the fabric weave and accelerating wear.
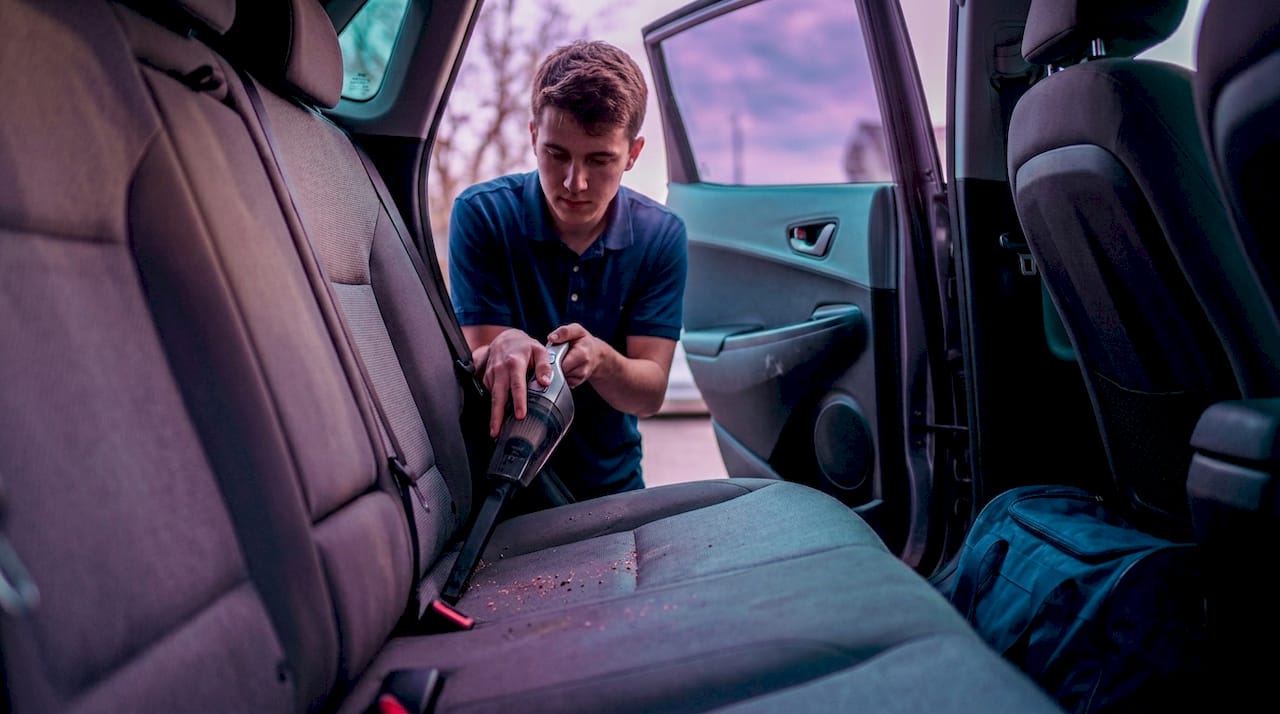
Pro Tip: Vacuum in multiple directions across your fabric seats, not just front to back. Cross-directional passes pull more embedded soil and pet hair out of the weave than a single pass ever will.
Ventilation matters too. Park in a shaded spot with the doors open, or work in a garage with a fan running. You want the environment set up for drying from the moment you start.
Step-by-step cleaning methods
With your fabric code confirmed and tools ready, here is how to clean fabric car seats without causing damage.
Spot cleaning fresh spills
- Blot the spill immediately with a clean, dry microfibre cloth. Press firmly and lift. Do not wipe or drag.
- Work from the outer edge of the spill inward to prevent spreading.
- Apply a small amount of the appropriate cleaner to a fresh cloth, not directly onto the seat.
- Gently dab the stained area in a circular motion, working from the edges toward the centre.
- Blot with a dry cloth to lift the cleaner and dissolved stain.
- Repeat until the stain lifts, using minimal product each pass.
Blotting with a dry cloth is the preferred technique across every professional upholstery guide for good reason. Rubbing spreads the stain laterally and pushes it deeper into the fabric, making extraction harder.
Steam cleaning car seats
Steam cleaning works well on W and WS coded fabrics when done with control. The method requires a handheld steam cleaner and a microfibre cloth.
- Heat the steamer to operating temperature before starting.
- Hold the nozzle about five centimetres from the fabric surface.
- Apply steam in short two-second bursts, moving along the seat in sections.
- Immediately wipe the area with a dry microfibre cloth after each burst.
- Never hold steam in one spot. Continuous application saturates the foam core.
- Allow the seat to air-dry completely with the windows down and a fan running.
Controlled steam cleaning with short bursts and immediate wiping prevents oversaturation and reduces odours. Moisture trapped in seat foam is the primary cause of that persistent musty smell in car interiors, and drying time typically runs one to two hours after steam cleaning when airflow is adequate.
Handling different stain types
- Mud: Let it dry completely before vacuuming off the bulk. Then spot clean the residue.
- Grease or food oil: Apply a small amount of dry-cleaning solvent (for S or WS fabrics) to break down the oil before blotting.
- Coffee or drinks: Blot immediately, then treat with a diluted upholstery cleaner and blot again.
- Ink: Isopropyl alcohol on a cotton bud, dabbed carefully onto the stain only. Avoid spreading.
Pro Tip: Residue left in the fabric weave from excessive product use is a major cause of recurring dark spots. Less product applied more precisely, followed by thorough blotting, outperforms saturating the area and hoping for the best. Leftover detergent in the weave attracts new dirt almost immediately.
For information on at-home versus professional methods based on fabric codes, it is worth understanding the full risk profile before attempting anything on a difficult stain.
Post-cleaning care and drying
Cleaning the stain is only half the job. What happens in the hour after you finish determines whether the result holds or creates new problems.
After cleaning, do the following:
- Leave all doors open or windows down to maximise airflow through the cabin
- Position a fan pointing directly at the cleaned seat if possible
- Check for hidden dampness by pressing a dry cloth firmly into the seat cushion after 30 minutes. If it comes back damp, the foam is still wet
- Do not close the car until the seat is completely dry to the touch through the fabric
Foam cushioning can remain wet internally for up to 24 hours after the surface appears dry. Closing up a damp car is the fastest way to grow mould inside the upholstery.
Signs of mould or mildew include a musty smell that persists after drying, visible grey or black spots on the fabric surface, or a damp feeling that returns after the seat appears dry. Mould remediation in automotive upholstery often requires professional intervention, particularly when contamination reaches the foam core. If you notice any signs of mould following a wet cleaning session, consider getting professional guidance rather than attempting to treat it further yourself. You can find additional context on recognising and treating interior moisture issues to understand the risk level before acting.
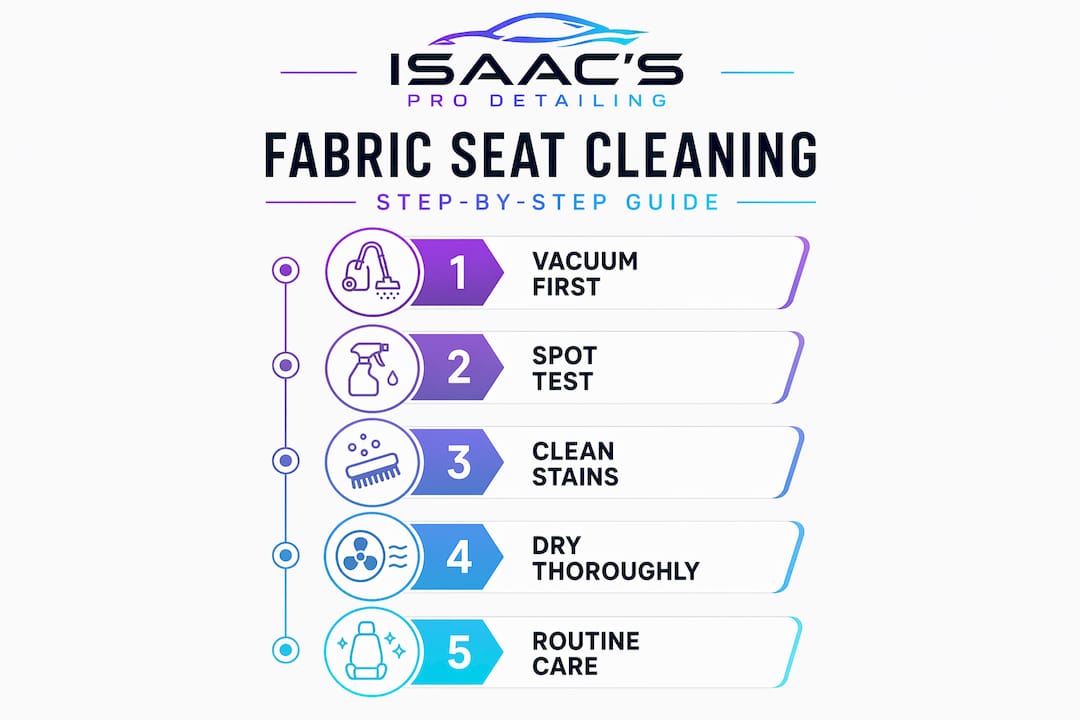
For long-term fabric care, a two-tier routine makes a real difference. Bi-weekly vacuuming combined with periodic deep cleaning maximises upholstery longevity and prevents the soil and oil buildup that makes stains harder to remove over time.
Troubleshooting problems and knowing when to stop
Even with the best technique, DIY fabric cleaning has limits. Recognising where those limits are saves you from making a manageable problem significantly worse.
Common signs that the situation is beyond DIY:
- Dye runs or colour change after cleaning. This indicates either a code mismatch or a pre-existing instability in the fabric dye.
- Texture distortion where the fabric feels or looks different after cleaning. Often caused by using water on S-coded fabrics.
- Recurring dark spots that return days after cleaning. Residue buildup in the weave is usually the cause and requires proper extraction equipment to fully remove.
- Persistent odour despite drying. Suggests moisture reached the foam core.
- Visible mould growth. Severe mould in upholstery foam almost always requires professional remediation because the foam itself cannot be adequately dried or treated at home.
Pro Tip: If a stain does not lift after two careful spot-cleaning attempts with the correct product for your fabric code, stop. Repeated applications increase saturation, product buildup, and the risk of damaging the fabric structure. That is when professional extraction equipment earns its place.
Professional car detailers use hot-water extraction equipment and commercial-grade stain treatments that penetrate the foam, break down the stain at its source, and extract both the contaminant and the cleaning residue in a single process. For a full picture of cleaning methods suited to Sunshine Coast conditions, it is worth understanding what professionals do differently before deciding whether to continue DIY.
My honest take on car fabric cleaning
I have seen the full range of results from DIY fabric cleaning, and the pattern is consistent. Most owners do fine with routine vacuuming and the occasional spot clean on fresh spills. Where things fall apart is when someone tackles an old or set stain, uses the wrong product for the fabric code, and then applies more and more cleaner trying to fix the result. By the time a vehicle comes to me with a recurring dark patch or a musty odour baked into the foam, the original stain was usually minor. The damage came from the response.
What I have learned is that restraint is the skill. Test first, use minimal product, blot rather than scrub, and stop before you oversaturate. The fabric code check is non-negotiable. I have seen expensive automotive upholstery ruined by water-based cleaners applied to S-coded seats. No amount of professional treatment fully corrects colour bleed or texture distortion.
My recommendation for most car owners is a consistent light-touch routine at home combined with a professional interior clean every three to six months. Steam cleaning, when done with control, is genuinely effective. But the technique has to be right. Short bursts, immediate wiping, thorough drying. The owners who protect their upholstery long-term are not the ones who deep-clean aggressively. They are the ones who maintain consistently and know when to hand it over.
— Isaac’s
Let Isaac’s Pro Detailing handle the hard part
Sometimes a stain has set, the foam is damp, or you simply want the job done properly without the guesswork. Isaac’s Pro Detailing on the Sunshine Coast provides fully mobile interior detailing services that come to your home, workplace, or wherever your vehicle is parked. Every service is matched to your fabric type and cleaning code, using professional extraction equipment and eco-friendly products that remove contaminants without damaging the upholstery. If you want to see exactly how professional technicians approach seat and carpet care, the mobile detailing workflow outlines the full process. For a broader overview of what a professional interior clean covers, the interior cleaning guide is a useful starting point.
FAQ
What do fabric cleaning codes W, S, WS, and X mean?
These codes indicate which cleaning methods are safe for a specific fabric. W allows water-based cleaners, S requires solvent-based products only, WS permits both, and X means vacuum only with no moisture or solvents.
How do I remove a stain from car fabric seats safely?
Blot the stain with a dry cloth immediately, apply a small amount of the correct cleaner for your fabric code to a separate cloth, and dab the area from the edges inward. Avoid rubbing and use minimal product to prevent residue buildup.
Can I use a steam cleaner on car fabric seats?
Yes, on W and WS coded fabrics. Use short two-second bursts, hold the nozzle about five centimetres from the surface, and wipe immediately after each pass. Controlled steam application prevents the moisture saturation that causes odours.
How long does it take for car seats to dry after cleaning?
With adequate airflow, fabric car seats typically dry within one to two hours on the surface. However, the foam core can remain damp for up to 24 hours, so press a dry cloth into the cushion to check before closing the vehicle.
When should I stop DIY and call a professional?
Stop if the stain does not lift after two careful attempts, if you notice colour change or texture distortion, or if there is any sign of mould or persistent odour. Foam saturation and mould require professional extraction equipment that home methods cannot replicate.