
TL;DR:
- Regular, systematic cleaning improves indoor air quality and maintains vehicle resale value.
- Use appropriate products and techniques tailored to different surfaces and materials.
- Consistent routine and professional detailing ensure a clean, fresh interior with lasting results.
Stubborn coffee stains on the centre console, sand from Noosa beach ground into the carpet, and that mysterious smell you just can’t place. Sound familiar? A neglected car interior isn’t just unpleasant to sit in; it actively works against you by trapping allergens, harbouring bacteria, and quietly eroding your vehicle’s resale value. The good news is that with the right approach and a realistic routine, you can maintain a genuinely clean, fresh-smelling interior without spending every weekend on your hands and knees. This guide walks you through every step, from decluttering to protection habits, so your car looks and feels like it just left the showroom.
Table of Contents
- Start with a systematic declutter and vacuum
- Clean seats, carpets and upholstery properly
- Make your dashboard, trims and technology shine
- Prevention, protection and smart habits
- The truth about interior cleaning: it’s not all about products
- Bring professional detailing to your driveway
- Frequently asked questions
Key Takeaways
| Point | Details |
|---|---|
| Vacuum thoroughly first | Decluttering and vacuuming from top to bottom prevents spreading dirt and forms the foundation for any deep clean. |
| Use the right cleaning products | Auto-specific cleaners protect your interior’s finish, while household products can cause lasting damage. |
| Maintain a routine | Quick weekly cleans and a monthly deep clean save time, money, and keep your car fresh and valuable. |
| Avoid common DIY mistakes | Never use harsh household chemicals without spot testing and always condition leather and vinyl after cleaning. |
Start with a systematic declutter and vacuum
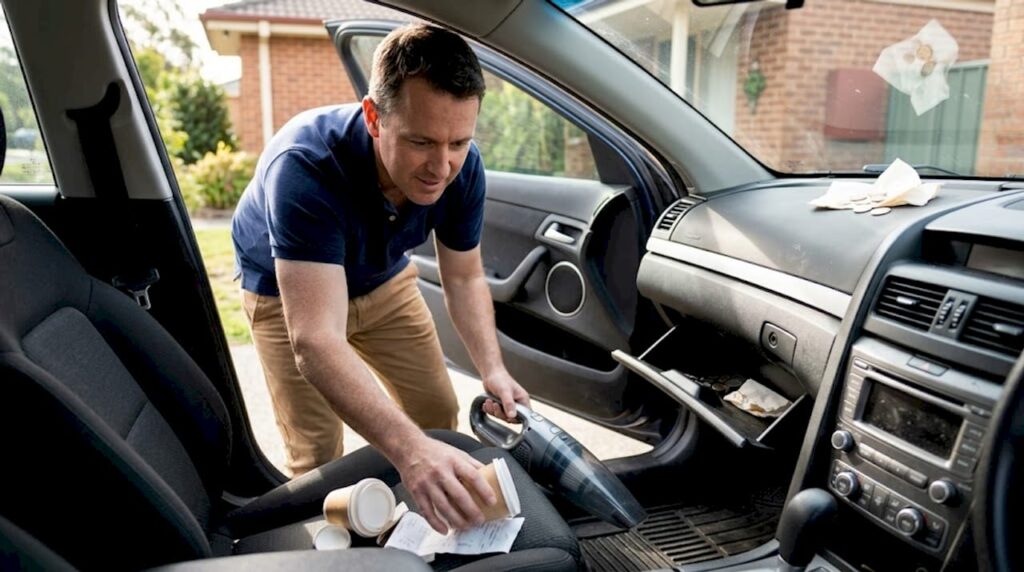
With the motivation established, let’s break down interior cleaning into manageable, effective steps. The single biggest mistake people make is reaching for a cloth before they’ve dealt with loose debris. Dirt on surfaces gets smeared; dirt that hasn’t been removed first just travels somewhere else. Start with a thorough declutter and vacuum from top to bottom to prevent dirt redistribution, which is the cardinal rule of any professional clean.
Begin by physically removing everything from the cabin: floor mats, rubbish, coins, kids’ toys, parking tickets, and anything else that doesn’t belong. Pull items from under the seats, check the door pockets, and clear the boot. Only once the space is truly empty should you pick up the vacuum.
The correct vacuuming sequence matters more than most people realise:
- Headliner and sun visors first, brushing dust downward
- Seat tops and backs, paying close attention to seams and button creases
- Between and beneath the seats, using a crevice tool
- Carpets and floor mats, running multiple passes in different directions
- Boot floor and boot liner last
Working top to bottom means dislodged particles fall to areas you haven’t cleaned yet rather than contaminating surfaces you’ve already finished. For tight spots like air vents and cup holders, a soft detailing brush loosens debris before the vacuum draws it away. A standard household vacuum can work for basic cleans, but a purpose-built wet and dry car vacuum with a range of attachments will make a noticeable difference in the result.
Don’t rush the crevice work. The gap between seats and the centre console, the channel around the handbrake, and the narrow seam where carpet meets trim are where grime compacts over months and starts producing odour.
Pro Tip: Remove floor mats and vacuum them separately on a hard surface outdoors. Beating them against a wall or fence first dislodges embedded sand, which is particularly relevant for Sunshine Coast drivers who regularly visit the beach.
The financial case for regular vacuuming is compelling. Consistent interior upkeep can boost resale value by hundreds to thousands of dollars, because buyers form their strongest impressions the moment they open the car door.
Clean seats, carpets and upholstery properly
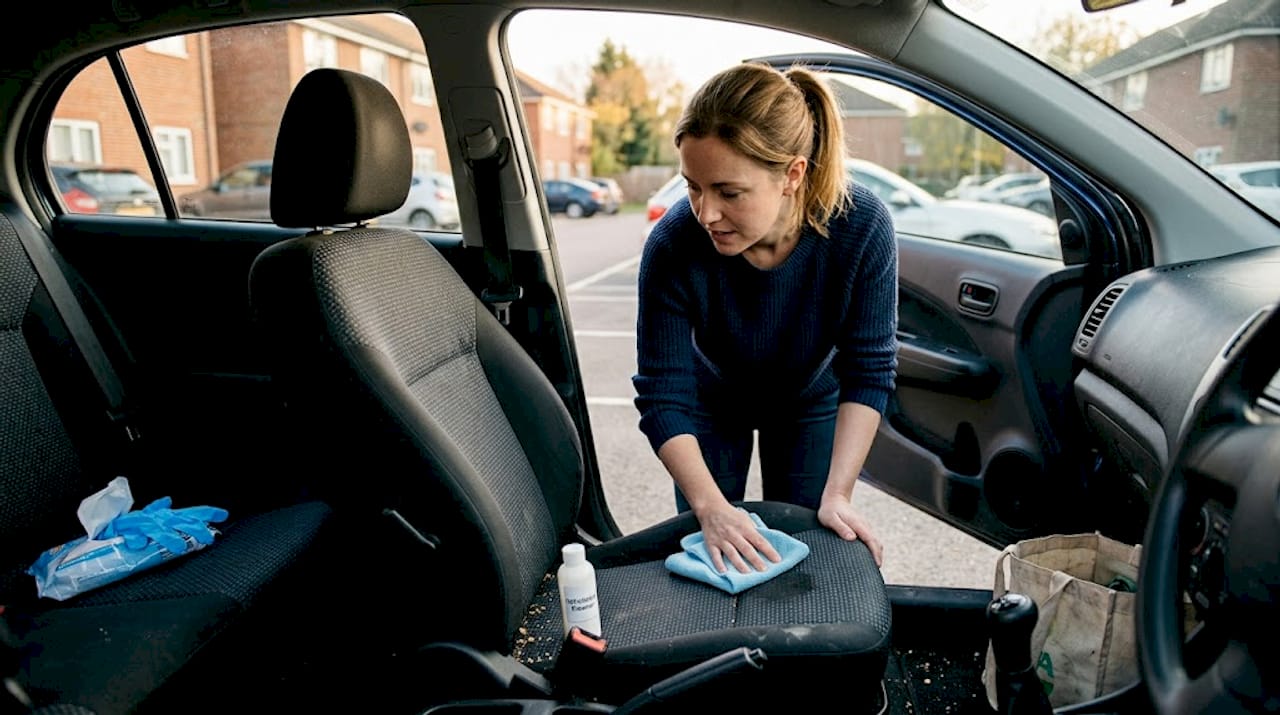
Once the interior is clear of debris, it’s time to focus on seats and fabrics, the most used parts of your car. Different materials require different approaches, and using the wrong product is one of the most common ways people accidentally cause lasting damage.
Follow this sequence for fabric seats and carpets:
- Vacuum the surface thoroughly one more time before applying any liquid.
- Spray a purpose-made carpet cleaning solution or auto-specific upholstery shampoo onto the stained area.
- Work the product in gently with a soft-bristled brush using circular motions.
- Extract the loosened dirt and cleaning solution using a wet/dry vacuum or extraction machine.
- Allow the area to dry fully with doors open or a fan before closing the car.
For leather and vinyl, the process differs. Vacuum crevices first, clean with saddle soap gently, then condition to prevent cracking. Leather that isn’t conditioned regularly becomes brittle in Queensland’s heat, and repairing cracked leather costs far more than a bottle of conditioner.
Here’s a quick guide to matching products to materials:
| Surface | Recommended product | What to avoid |
|---|---|---|
| Fabric seats | Auto upholstery shampoo | Bleach or general purpose spray |
| Carpet | Carpet cleaning spray or foam | Dish soap (leaves residue) |
| Leather | Saddle soap, leather cleaner | Alcohol-based wipes |
| Vinyl | Mild all-purpose auto cleaner | Silicone-heavy dressings |
| Alcantara | Specialised suede cleaner | Any wet scrubbing |
Familiarise yourself with upholstery cleaning best practices before you start, especially if you have a newer vehicle or premium interior material.
Pro Tip: Always blot stains rather than scrubbing them. Scrubbing pushes the stain deeper into fibres and spreads it outward. Blotting lifts the stain up and out. Work from the outer edge of the stain inward to prevent a spreading ring.
For particularly stubborn odours embedded in fabric, an enzyme-based cleaner breaks down the organic compounds causing the smell rather than simply masking it. This is the difference between genuinely removing an odour and temporarily covering it with fragrance. Check out car interior cleaning solutions rated specifically for Australian conditions.
Make your dashboard, trims and technology shine
With fabrics cared for, it’s time to turn to hard surfaces and the often-overlooked tech elements. Your dashboard, trim panels, centre console, and infotainment screen are the most visually prominent parts of the interior, and they’re also the areas where the wrong product causes the most visible damage.
The comparison between household and automotive products is worth understanding clearly:
| Product type | Suitable for car use? | Risk if misused |
|---|---|---|
| Glass cleaner with ammonia | No | Damages tinted film, fogging |
| Ammonia-free glass cleaner | Yes | Minimal, use sparingly |
| Multi-purpose household spray | No | Strips UV protection from plastics |
| Interior-specific auto spray | Yes | Safe on most trim materials |
| Paper towels | No | Micro-scratches on screens |
| Microfibre cloths | Yes | Safe on all surfaces |
For screens and glass, use ammonia-free glass cleaner for screens and windows without exception. Ammonia attacks the coatings on modern infotainment screens and will cause irreversible fogging over time. A clean, dry microfibre cloth with a small amount of ammonia-free spray is all you need.
For dashboards and plastic trim, use an interior-specific spray that includes UV protection. Queensland’s intense sunshine accelerates fading and cracking on unprotected plastics. Apply with a microfibre applicator pad and buff to a clean, even finish.
For vents, cupholders, and narrow trim channels, small detailing brushes are invaluable. These cleaning methods for interiors work best when you spray product onto the brush rather than directly into the vent, preventing overspray from settling on surrounding surfaces.
“The best interior clean isn’t the one done with the most expensive products. It’s the one done with the right tools applied patiently and in the correct order.”
Always spot test any new product on a hidden area of trim before applying it broadly. Some interior plastics respond unexpectedly to certain formulations. Having the right best interior cleaning tools also makes this stage far faster than improvising with kitchen cloths and spray bottles.
Prevention, protection and smart habits
Great cleaning is only half the battle; real value comes from maintaining results with a few smart routines. Preventing grime from building up is always less work than removing it once it has set in.
Here are practical daily and weekly habits that make a measurable difference:
- Keep a small, lidded bin in the car to contain rubbish between proper cleans
- Use seat covers if you regularly carry children, pets, or sports gear
- Wipe your pet’s paws before they jump in, or use a dedicated boot liner
- Ban food that’s likely to crumble or spill (biscuits, chips, coffee in open cups)
- Shake out floor mats once or twice a week to remove sand before it grinds in
- Keep a pack of automotive interior wipes in the glovebox for quick spot cleans
A quick weekly vacuum and wipe, followed by a deep clean monthly, is the professional standard that keeps interiors genuinely maintained rather than just occasionally refreshed.
Pro Tip: Set a recurring reminder on your phone for your weekly quick clean and your monthly deep clean. Treating it like an appointment rather than a task you’ll get to eventually makes a real difference to how consistently it actually happens.
The allergy and health angle is also worth taking seriously. Dust mites, mould spores, and pet dander accumulate quickly in car interiors, particularly in Sunshine Coast’s humid climate. A monthly deep clean combined with an air-conditioning cabin filter check reduces allergens and odours significantly, making every drive more comfortable.
From a financial perspective, maintaining your interior’s condition is one of the highest-return activities a vehicle owner can perform. Regular upkeep for busy families doesn’t have to mean hours of work each week; it means ten minutes done consistently.
The truth about interior cleaning: it’s not all about products
After years of detailing vehicles across the Sunshine Coast, one pattern keeps appearing: customers who’ve spent a small fortune on cleaning products but still can’t get their interior to a standard they’re happy with. The frustration is real, and the cause is almost always technique and routine, not products.
The detailing industry has a vested interest in selling you the next specialised spray. But the honest truth is that a basic auto-specific cleaner applied correctly and consistently will outperform an expensive product used sporadically and in the wrong way. Consumer Reports specifically warns against household cleaners because they damage finishes, even when DIY sources suggest cautious use with spot testing. Our position: don’t experiment with your car’s interior surfaces. Use automotive-specific products every time.
The Sunshine Coast environment adds a specific challenge. Sand is abrasive, salt air accelerates deterioration of leather and fabric, and humidity encourages mould growth in carpets that weren’t dried properly after cleaning. A mobile detailing workflow built around these local conditions produces better results than a generic approach.
Master one technique at a time before adding new tools or products. Get your vacuuming sequence right, then perfect your fabric cleaning method, then move on to hard surfaces. Discipline and repetition build the standard that products alone simply cannot achieve.
Bring professional detailing to your driveway
If you’d rather leave it to the professionals or want extra-high standards, here’s how you can benefit locally. Isaac’s Pro Detailing Sunshine Coast comes to you, whether you’re at home, at work, or anywhere across the Sunshine Coast region. No dropping your car off, no waiting around, just a professionally cleaned interior delivered at your convenience.

Our team uses professional-grade extraction equipment, automotive-specific products, and a systematic detailing workflow for lasting value that goes well beyond what’s achievable with household tools. Whether you need a quick interior refresh or a full deep clean with leather conditioning and odour treatment, we have a package to suit your vehicle and your budget. Explore our full interior cleaning guide or get in touch to book your mobile detail today.
Frequently asked questions
How often should I clean my car interior?
A quick weekly vacuum and wipe keeps surface grime under control, while a thorough deep clean once a month maintains genuine cleanliness and prevents odour and allergen build-up.
What is the safest way to clean my dashboard and infotainment screen?
Use a microfibre cloth with an interior-safe cleaner for the dashboard, and an ammonia-free glass cleaner for screens and windows to protect sensitive coatings from permanent damage.
Can regular interior cleaning improve my car’s resale value?
Yes, consistent cleaning and maintenance can increase resale value by hundreds or even thousands of dollars, because buyers judge a vehicle’s condition heavily by the interior’s appearance and smell.
Which cleaners should I avoid using inside my car?
Avoid household multi-purpose sprays and ammonia-based glass cleaners as they damage interior finishes; always choose automotive-specific products and spot test any new formula on a hidden area first.