
TL;DR:
- Proper surface preparation is essential for long-lasting ceramic coating performance.
- Maintenance includes gentle washing, prompt removal of contaminants, and periodic top-up sprays.
- Professional application ensures better durability and finish, especially in challenging climates like Sunshine Coast.
Living on the Sunshine Coast means your car faces a relentless assault of UV rays, salt air, bird droppings, and road grime every single day. Most car owners notice their paint losing depth and gloss within months of a fresh wash, and standard waxes simply cannot keep up. Ceramic coating changes that equation entirely. It bonds chemically to your paint and creates a hard, hydrophobic layer that repels water, resists contaminants, and keeps your car looking sharp for years. This guide walks you through every step, from gathering materials to final inspection, so you get the best possible result.
Table of Contents
- What you need before you start
- Preparation: Cleaning and surface decontamination
- How to apply ceramic coating: Step-by-step instructions
- Curing, aftercare and maintenance for long-lasting results
- What most car owners miss about ceramic coating
- Get a flawless ceramic coating with Sunshine Coast mobile pros
- Frequently asked questions
Key Takeaways
| Point | Details |
|---|---|
| Thorough preparation is vital | Most application issues stem from improper cleaning and paint correction before applying the ceramic coating. |
| Follow application steps carefully | Taking your time and working section by section ensures even coverage and professional-looking results. |
| Curing and maintenance matter | Proper aftercare maximises coating durability and the long-term shine of your vehicle. |
| Sunshine Coast weather impacts lifespan | Regular, gentle cleaning and quick removal of contaminants is especially important in coastal climates. |
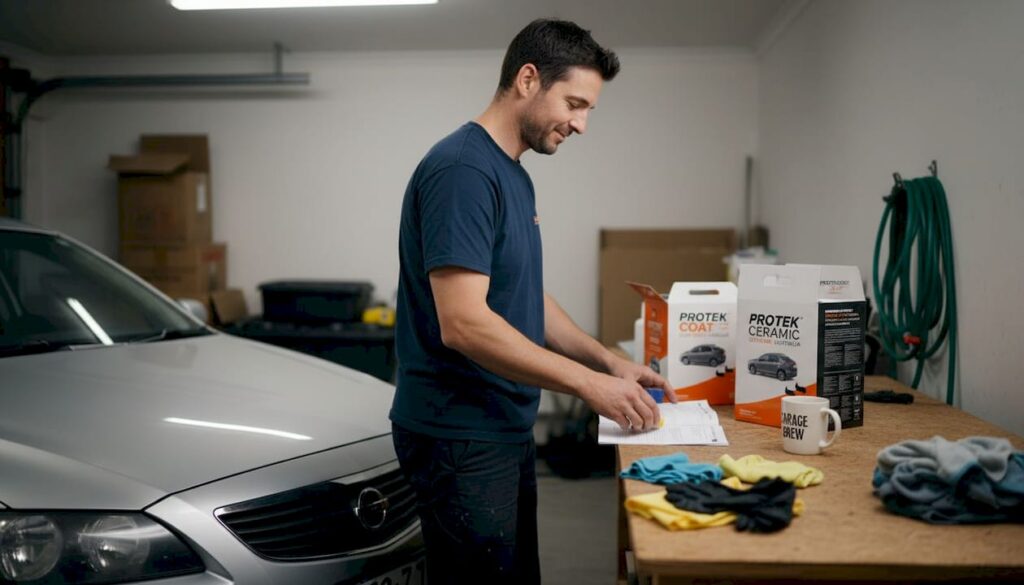
What you need before you start
Before you open a single bottle, getting your workspace and materials sorted is everything. Proper preparation helps ceramic coatings bond and last significantly longer, so cutting corners here will cost you later.
First, understand the two main product categories available to you.
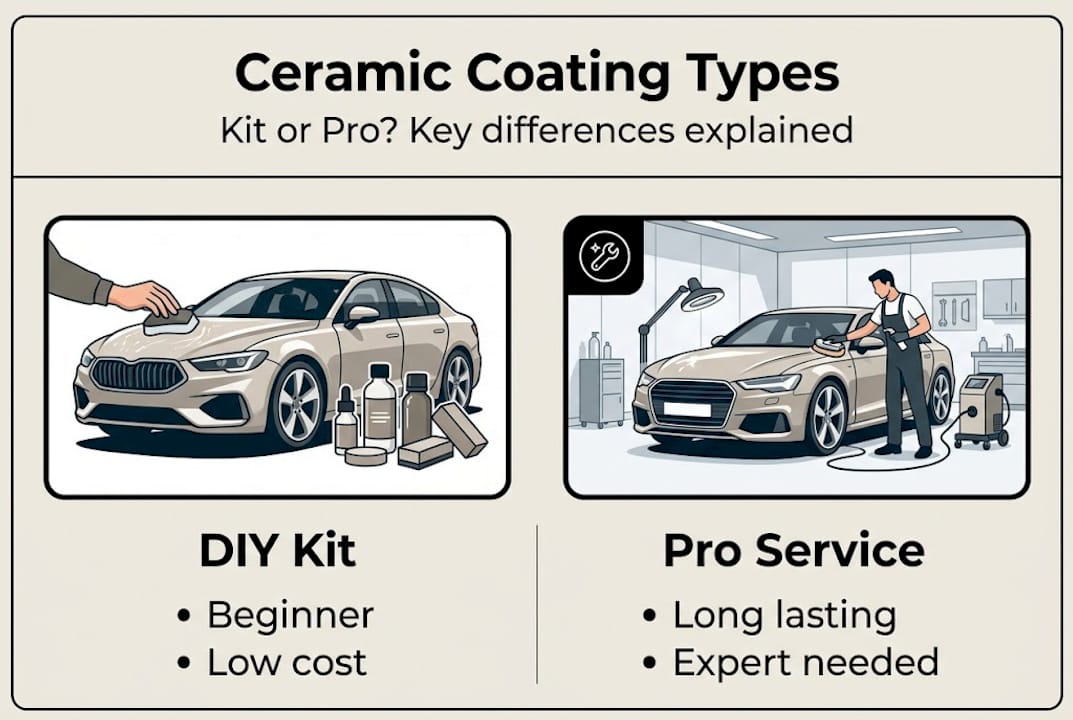
| Type | Durability | Skill level | Cost range |
|---|---|---|---|
| Consumer kit (DIY) | 1 to 2 years | Beginner to intermediate | $50 to $200 |
| Professional grade | 3 to 5 years | Advanced or trade | $200 to $500+ |
Consumer kits are formulated to be more forgiving during application, while professional grade products cure faster and are less tolerant of mistakes. If this is your first time, a quality consumer kit is the smart starting point.
Here is what you need to gather before you begin:
- Ceramic coating kit (applicator block and suede cloth included)
- Nitrile gloves and safety glasses (PPE is non-negotiable)
- pH-neutral car wash soap
- Two wash buckets with grit guards
- Clay bar and clay lubricant
- Isopropyl alcohol (IPA) at 70 to 99 percent concentration
- Multiple microfibre cloths, colour-coded for each task
- Paint correction polish and dual-action polisher (if needed)
- Masking tape for trim and rubber seals
- Adequate lighting, ideally a detailing light or LED work lamp
You also need the right environment. Work in a shaded, well-ventilated space away from direct sunlight, wind, and any chance of rain. A garage or carport works well. Temperature should sit between 15 and 25 degrees Celsius. Humidity above 70 percent can cause the coating to cure unevenly, so check the forecast before you start. Reviewing solid paint protection steps and car cleaning practices ahead of time will also sharpen your technique.
Pro Tip: Before committing to the full vehicle, do a test spot on a small, less visible panel like the lower door jamb. This confirms your technique and flash time before you work on the bonnet or roof.
Preparation: Cleaning and surface decontamination
Once you’re prepped with the right gear and workspace, surface preparation is the next critical stage. Skipping proper preparation is the most common cause of ceramic coating failure, and it is completely avoidable.
Follow these steps in order:
- Rinse the entire vehicle with a strong stream of water to dislodge loose dirt and debris before touching the paint.
- Wash with the two-bucket method. One bucket holds your pH-neutral soapy water, the other holds clean rinse water. Dip your mitt, wash a panel, rinse the mitt, repeat. This stops grit from scratching the paint during the wash.
- Rinse thoroughly and dry with a clean, plush microfibre drying towel. Never let the car air dry, as water spots can etch into the paint.
- Clay bar the entire surface. Spray clay lubricant on a small section, then glide the clay bar back and forth with light pressure. You will feel it grab at first, then smooth out as it lifts bonded contaminants like rail dust, tree sap, and industrial fallout. This step is what makes the surface truly clean at a microscopic level.
- Inspect for scratches and swirl marks under your detailing light. If you see significant defects, now is the time to correct them with a machine polisher and appropriate compound. Ceramic coating locks in whatever is underneath, so polishing after coating is not an option.
- Wipe down every panel with IPA. This removes polish oils, wax residue, and any remaining contaminants. Use straight, overlapping passes and flip the cloth frequently.
A properly decontaminated and corrected surface is what separates a coating that lasts five years from one that peels in five months.
For deeper guidance on each of these stages, the paint protection basics overview and these detailing tips cover the finer points well. You can also find a thorough breakdown of best exterior cleaning techniques to sharpen your wash process.
Pro Tip: Use a different coloured microfibre cloth for washing, drying, and IPA wipe-down. Cross-contamination between stages is a silent killer of coating adhesion.
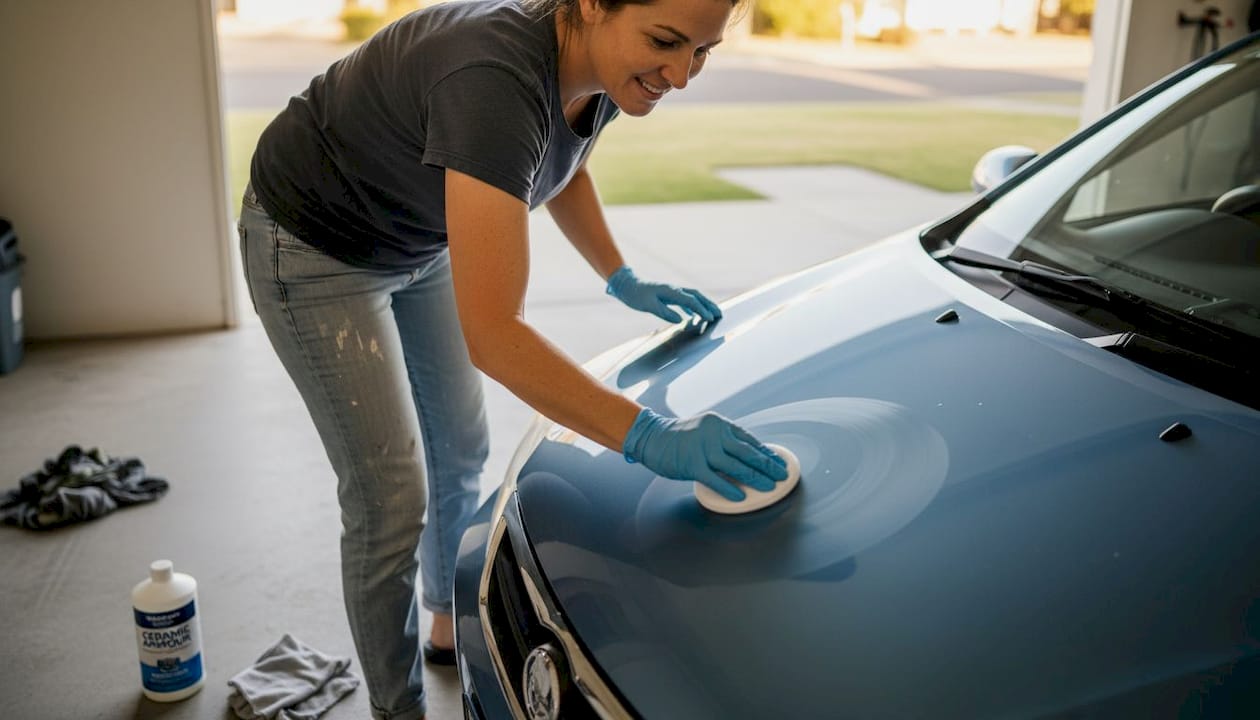
How to apply ceramic coating: Step-by-step instructions
With the surface pristine, you’re ready to apply the ceramic coating itself. Following each step of application ensures even coverage and maximum durability.
- Prime your applicator. Apply four to six drops of coating onto the suede applicator cloth wrapped around the foam block. Do not flood it.
- Work one small section at a time, roughly 40 by 40 centimetres. Apply the product in overlapping crosshatch passes, first horizontally then vertically, using light, even pressure.
- Watch the flash time. After 30 to 90 seconds (check your product’s instructions), the coating will start to show a faint rainbow or haze. This is your signal to buff.
- Buff with a clean microfibre cloth using light circular motions, then finish with straight passes to remove any residue. Flip your cloth often.
- Check for high spots under your detailing light immediately after buffing. High spots appear as streaky or smeared patches. Address them quickly with a fresh cloth before they cure hard.
- Repeat panel by panel, moving methodically around the vehicle. Keep your applicator primed with fresh product every two to three sections.
| Product | Flash time | Cure time | Durability | Finish |
|---|---|---|---|---|
| Gyeon Mohs | 1 to 3 min | 24 hours | 2 to 3 years | High gloss |
| CarPro Cquartz | 2 to 5 min | 12 to 24 hours | 2 to 4 years | Deep gloss |
| Gtechniq Crystal Serum | 30 to 60 sec | 24 to 48 hours | 4 to 5 years | Mirror finish |
If you notice streaks during application, work faster or reduce the amount of product on the applicator. Streaks usually mean too much product or buffing too late. For a full breakdown of the step-by-step paint protection process and how professionals approach the mobile detailing workflow, both resources are worth reading before you start.
Pro Tip: Apply in small sections for optimal control. Rushing across large panels leads to uneven flash times and patchy results that are very difficult to fix once cured.
Curing, aftercare and maintenance for long-lasting results
Applying the coating is just the start. Now it is about preserving performance and shine through the curing period and beyond.
For the first 24 to 48 hours after application, keep the car completely dry. No rain, no dew, no sprinklers. Avoid parking under trees where sap or bird droppings can land on the fresh coating. Do not touch the surface unnecessarily during this window.
For your first wash, wait at least seven days. When you do wash, use a pH-neutral shampoo and a soft microfibre mitt. Avoid automatic car washes with brushes entirely, as they will scratch and degrade the coating over time.
Ongoing maintenance tips for the Sunshine Coast environment:
- Rinse the car after beach trips to remove salt and sand before they bake onto the surface
- Remove bird droppings and insect splatter promptly, as the acids in them can etch through the coating if left too long in the heat
- Use a dedicated ceramic coating maintenance spray every one to two months to top up hydrophobic properties
- Avoid parking in direct sun for extended periods where possible, as UV exposure still degrades the coating over years
- Wash fortnightly in summer and monthly in cooler months to prevent contaminant build-up
Regular maintenance preserves the ceramic coating’s hydrophobic properties and gloss over its full lifespan.
Well-maintained ceramic coatings can last 2 to 5 years, making them one of the most cost-effective paint protection investments available.
| Issue | Timeframe | Action |
|---|---|---|
| Water beading reduces | After 6 to 12 months | Apply maintenance spray or top coat |
| Light swirl marks appear | Anytime | Gentle hand polish, re-coat panel |
| Coating feels rough or gritty | First few weeks | Clay bar lightly, do not scrub |
| Dull or flat finish | After 12 months | Professional inspection and refresh |
For ongoing aftercare cleaning guidance and tips on keeping up with mobile car maintenance, both links cover the practical detail you need.
What most car owners miss about ceramic coating
Here is what years of detailing Sunshine Coast vehicles has taught us: the product you choose matters far less than the preparation you put in. Most DIY failures we see are not caused by a bad coating. They are caused by a panel that was not decontaminated properly, or IPA that was wiped on with a cloth still carrying polish residue.
The Sunshine Coast climate adds another layer of challenge. Salt air accelerates oxidation, summer heat speeds up flash times unpredictably, and humidity can cause coating to cure in the air before it bonds to the paint. These are not problems you read about on the back of a bottle.
Another myth worth addressing: ceramic coatings are not invincible. They will not stop a shopping trolley scratch or protect against heavy stone chips. What they do is reduce light marring, repel chemical stains, and make maintenance dramatically easier. Managing expectations is part of getting real value from the product.
Finally, inspection matters. Reviewing your detailing workflow and scheduling a professional check-up every 12 months keeps the coating performing at its best and protects any warranty you may hold.
Get a flawless ceramic coating with Sunshine Coast mobile pros
If the preparation process feels like a lot to take on, or you simply want guaranteed results the first time, professional detailers are worth every cent. Hiring local experts means your coating comes with proper warranty support and a finish that consumer kits rarely match.
At Isaac’s Pro Detailing, we bring the full detail shop to your driveway, workplace, or wherever suits you best across the Sunshine Coast. We handle every stage from decontamination and paint correction through to coating application and curing advice. For a full overview of what professional Sunshine Coast paint protection involves, or to learn more about our mobile detailing services, get in touch today and book your ceramic coating detail.
Frequently asked questions
How long does ceramic coating last?
Quality ceramic coatings can last anywhere from 2 to 5 years with proper care, depending on the product grade and how well you maintain the surface.
Can I apply ceramic coating myself, or should I hire a professional?
You can apply consumer kits yourself if you follow all prep and safety steps carefully, but professionals deliver better durability and finish because proper preparation at a trade level is difficult to replicate at home.
Does ceramic coating protect against scratches?
Ceramic coating provides a strong, hydrophobic layer but does not make paint scratch-proof. It reduces light marring and chemical stains, offering long-lasting protection against everyday environmental damage rather than physical impact.
What are the most common mistakes when applying ceramic coating?
Rushing surface preparation and applying the product in poor weather conditions are the main causes of short-lived results, as skipping proper preparation is the leading reason coatings fail prematurely.
How soon after ceramic coating can I wash my car?
Wait at least 7 days before the first wash to allow the coating to fully cure, and during the initial cure period avoid any water exposure for the first 24 to 48 hours.
Recommended
- Paint Protection Guide: Sunshine Coast Solutions For Lasting Shine
- Essential Car Paint Protection Steps For Sunshine Coast Drivers
- How To Detail Your Car For Lasting Shine And Protection
- Exterior Car Cleaning Best Practices For A Lasting Shine
- RV bodywork repair tutorial: DIY steps for lasting results