
TL;DR:
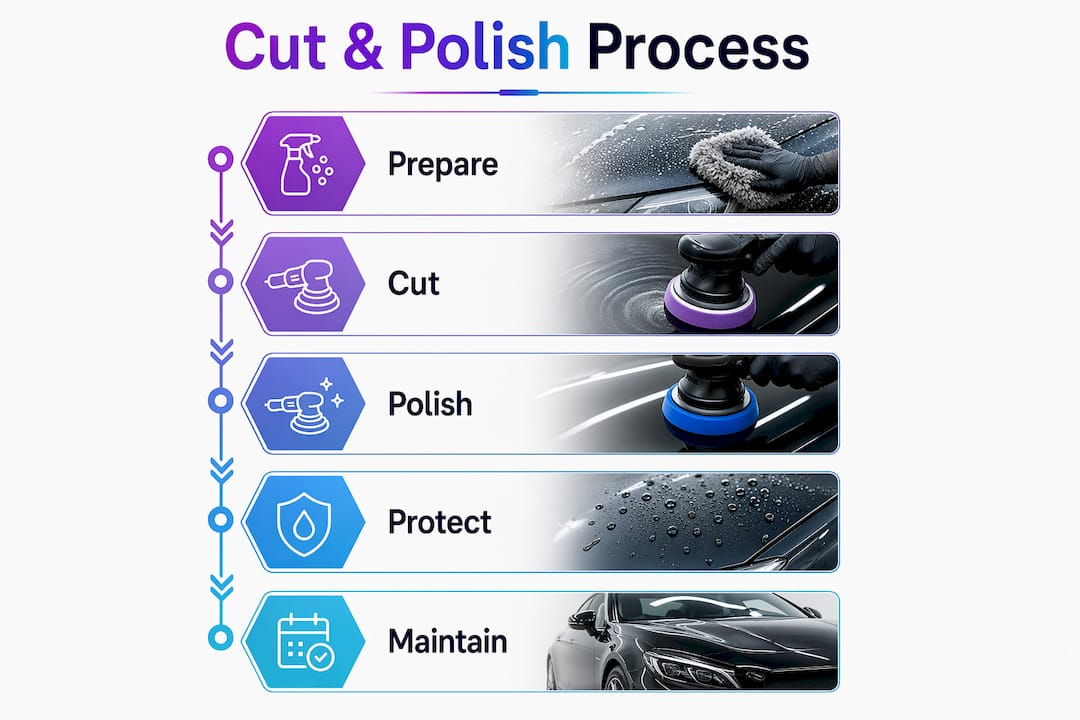
- The cut and polish process removes surface defects from a vehicle’s clear coat by physically leveling the paint. It involves a multi-stage correction using abrasive compounds, polishing, and proper preparation to avoid damage. Applying appropriate protection afterward preserves the results and prevents future contamination.
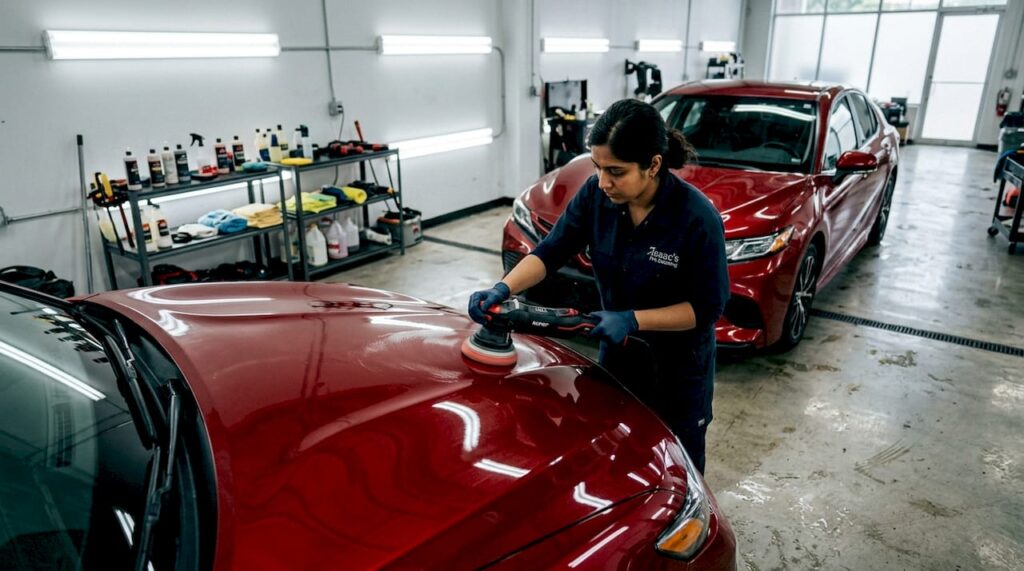
The cut and polish process is a multi-step paint correction technique that removes surface defects from a vehicle’s clear coat and restores gloss. A properly performed treatment corrects up to 90% of paint defects like swirl marks, light scratches, and oxidation. Unlike a basic wash and wax, which masks imperfections temporarily, cut and polish is a structural treatment that physically restores the paintwork. The process works by removing a microscopic layer of clear coat to level the surface, then refining that surface to a mirror-like shine. Done correctly, the results are dramatic. Done carelessly, the damage is permanent.
What does the cut and polish process actually involve?
Cut and polish is the industry term for what professionals call paint correction. The two phrases describe the same multi-stage process: cutting with abrasive compounds to remove defects, then polishing with finer abrasives to restore clarity. Car owners often use “polishing” loosely to mean any surface treatment, but paint correction is a distinct process that uses progressively finer abrasives and requires skilled judgement. Basic polishing is a light surface refresh. Paint correction addresses severely damaged paint that a simple polish cannot fix.
The clear coat on your car is typically 40–80 microns thick. Every cut and polish session removes a small portion of that permanently. That fact shapes every decision a professional makes during the process.
Essential preparations before you start
Preparation is not optional. Polishing dirty paint causes deeper damage because abrasive particles grind contaminants into the clear coat, creating new scratches worse than the originals. A thorough decontamination wash is the non-negotiable first step.
The preparation stage covers four key areas:
- Decontamination wash: A full wash using a pH-neutral shampoo removes loose dirt, road grime, and brake dust. This is not a quick rinse. Every panel needs attention before any machine touches the paint.
- Clay bar treatment: A clay bar or synthetic clay mitt pulls out embedded contaminants that washing cannot remove, including iron particles, tar, and industrial fallout. The paint should feel glassy smooth after claying.
- Paint thickness measurement: A paint depth gauge measures the clear coat on each panel. Thin readings, typically under 80 microns, signal caution. Panels that have been resprayed often have thinner or uneven coats.
- Defect inspection under lighting: A dedicated detailing light or LED swirl finder reveals the true extent of scratches, swirl marks, and oxidation. Natural sunlight misses defects that artificial lighting catches.
Pro Tip:Run your fingertips across a freshly washed panel. If it still feels rough or gritty, clay it again before reaching for a machine polisher. Skipping this step is the most common cause of new scratches during polishing.
| Preparation step | Purpose |
|---|---|
| Decontamination wash | Removes loose dirt and grime to prevent new scratches |
| Clay bar treatment | Extracts bonded contaminants for a clean surface |
| Paint thickness measurement | Identifies panels at risk of clear coat burn-through |
| Defect inspection | Maps damage to guide compound and pad selection |
For a full overview of surface cleaning before detailing, the preparation stage sets the ceiling on every result that follows.
How does the cutting phase remove paint defects?
The cutting phase is where defects are physically eliminated. Cutting compounds act like liquid sandpaper, removing a fine layer of clear coat to bring the surface level with the base of each scratch or swirl mark. Once the surface is level, the defect disappears.
The cutting phase follows a clear sequence:
- Select the correct compound. Heavy cutting compounds suit deep swirl marks and oxidation. Medium compounds handle lighter defects. Using a compound that is too aggressive on thin paint risks burning through the clear coat.
- Choose the right pad. Foam cutting pads are firm and generate heat to activate the abrasives. Wool pads cut faster but require more skill to control. Microfibre pads sit between the two in aggression.
- Set the machine speed. A dual-action polisher is the standard tool for most car owners. Rotary polishers cut faster but generate more heat and demand greater skill. Speed settings vary by compound and pad combination.
- Work in small sections. Work one panel at a time in overlapping passes. Spreading compound too thin reduces cutting ability. Keeping it too thick wastes product and creates mess.
- Wipe and inspect. Remove compound residue with a clean microfibre cloth after each section. Inspect under lighting before moving on. Repeat passes only where defects remain.
Pro Tip:Keep the machine moving at all times. Holding a rotary polisher stationary for even a few seconds generates enough heat to burn through the clear coat on thin panels.
The cutting stage always leaves behind micro-scratches and a light haze. That is expected and normal. The polishing stage exists specifically to remove them. Stopping after cutting and applying a sealant locks in a dull, cloudy finish. The multi-step polishing workflow is what separates a professional result from an amateur one.
Polishing phase: how to restore gloss and clarity
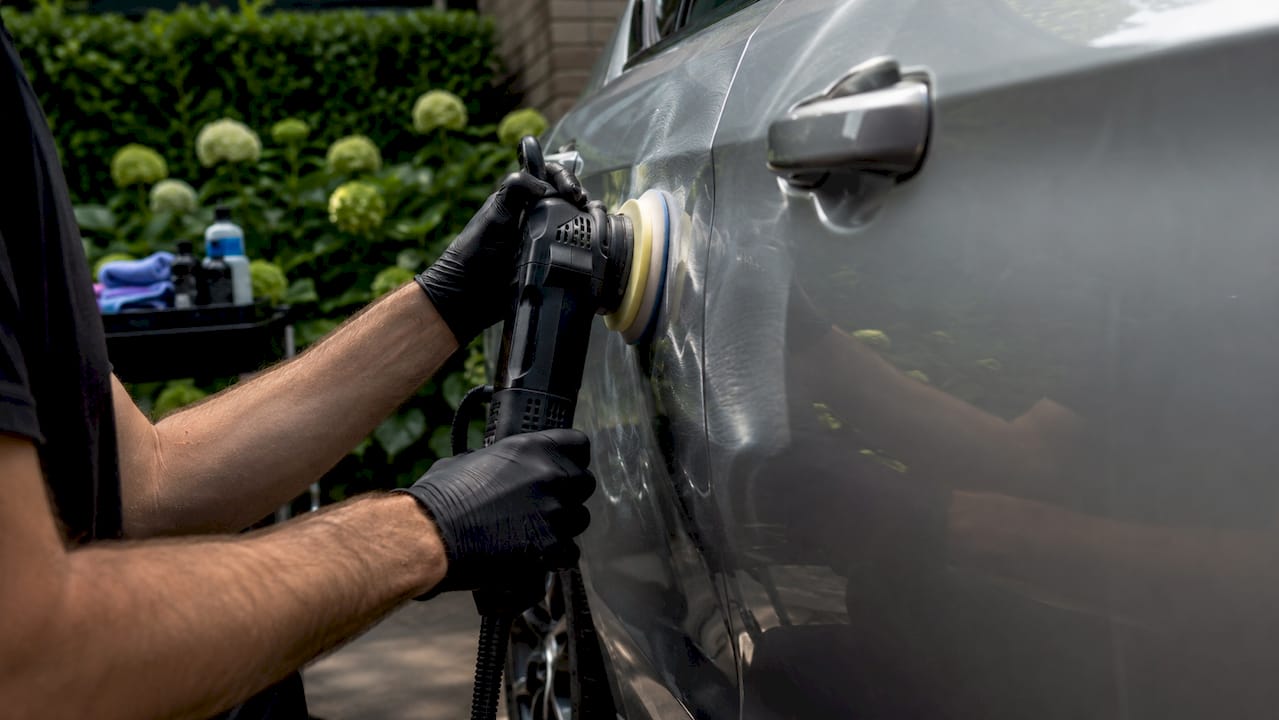
Polishing removes the haze and micro-scratches left by cutting. Finer abrasives and softer pads smooth the surface at a microscopic level, allowing light to reflect evenly and produce the mirror-like finish that defines a quality paint correction result. Skipping polishing after cutting leaves the paint looking worse than before the process started.
The polishing phase works differently from cutting in several important ways:
- Pad selection matters more. Soft foam finishing pads are standard for polishing. They generate less heat and apply lighter pressure, which suits the finer abrasives used at this stage.
- Compound choice changes. Finishing polishes contain much smaller abrasive particles than cutting compounds. Some are diminishing abrasive polishes, meaning the particles break down during use to deliver a progressively finer finish.
- Machine speed drops. Lower speeds reduce heat and give the finer abrasives time to work without burning the surface.
- Multiple passes refine the result. One polishing pass rarely delivers the full result. Two or three passes with a finishing polish on a soft pad typically produce the best clarity.
- Inspect under lighting after every pass. Holograms, or fine circular scratches left by machine polishing, are only visible under specific lighting. Catching them during polishing is far easier than correcting them after protection has been applied.
The difference between light polishing and full paint correction is significant. Light polishing refreshes a surface with minor defects. Full paint correction, the complete cut and polish process, addresses paint that is genuinely damaged. Choosing the wrong approach wastes time and removes clear coat unnecessarily.
Post-polish paint protection: locking in the result
Protection applied immediately after polishing is what determines how long the result lasts. Wax, synthetic sealants, and ceramic coatings each protect the freshly corrected surface, but they differ significantly in durability and performance.
| Protection type | Typical durability | Key benefit |
|---|---|---|
| Carnauba wax | 4–8 weeks | Warm, deep gloss; easy to apply |
| Synthetic paint sealant | 3–6 months | Stronger UV resistance than wax |
| Ceramic coating | 2–5 years | Hard, hydrophobic layer; resists chemical damage |
Ceramic coatings offer the longest protection after paint correction. They bond chemically to the clear coat and create a hard, hydrophobic surface that repels water, dirt, and UV radiation. For a detailed breakdown of coating options after polishing, the choice depends on how long you want the correction to last and how much maintenance you are willing to do.
Protection must go on within hours of polishing, before the freshly exposed clear coat picks up contamination. Waiting even a day in an outdoor environment can introduce new surface contaminants that compromise adhesion. Maintenance after protection is straightforward: wash with a pH-neutral shampoo, avoid automatic car washes with abrasive brushes, and top up wax or sealant on schedule.
Common mistakes that damage paint during cut and polish
The most costly mistakes in paint correction are avoidable. Over-aggressive cutting or excessive frequency risks burning through the clear coat, causing permanent damage that requires a full respray to fix. Understanding where things go wrong is as valuable as knowing the correct technique.
The most common errors are:
- Skipping decontamination. Polishing over bonded contaminants grinds them into the clear coat. The result is deeper scratches than the ones you started with.
- Choosing the wrong compound. A heavy cutting compound on thin or resprayed paint removes too much clear coat in a single pass. Always start with the least aggressive compound that addresses the defect.
- Staying in one spot too long. Heat is the enemy of clear coat. A stationary machine polisher builds heat rapidly and can burn through in seconds.
- Cutting too frequently.Cut and polish should only be performed as needed, not as routine maintenance. Each session permanently removes clear coat. A car with a thin clear coat from repeated cutting has no margin for error.
- Skipping the polishing stage. Applying wax or sealant over cutting haze seals in a dull finish. The micro-scratches from cutting are still there, just hidden temporarily.
Pro Tip:If you are attempting cut and polish at home for the first time, practise on a spare panel or an inconspicuous area like the inside of a door jamb before working on visible paintwork. The technique takes time to develop.
Many car owners expect cut and polish to fix all paint defects, including deep scratches that reach the primer or bare metal. Those defects require touch-up paint or a respray, not polishing. Knowing the limits of the process prevents disappointment and unnecessary clear coat removal.
Key takeaways
The cut and polish process corrects paint defects by removing a microscopic clear coat layer, then refining the surface with progressively finer abrasives to restore a mirror-like gloss.
| Point | Details |
|---|---|
| Preparation is non-negotiable | Decontaminate and clay the paint before any machine polishing to prevent new scratches. |
| Cutting removes defects permanently | Abrasive compounds level the clear coat surface, eliminating swirl marks and oxidation. |
| Polishing refines the result | Finer abrasives and softer pads remove cutting haze to deliver genuine gloss and clarity. |
| Protection locks in the finish | Apply wax, sealant, or ceramic coating immediately after polishing to preserve the correction. |
| Frequency must be limited | Each session removes clear coat permanently; cut and polish only when defects genuinely require it. |
My honest view on cut and polish after years on the tools
The biggest misconception I see among car owners is treating cut and polish as a routine service, like a tyre rotation or an oil change. It is not. Every time you cut paint, you permanently reduce the clear coat thickness. A car that has been cut four or five times by inexperienced hands often has almost no clear coat left on the high points of the bodywork, the bonnet edges, roof rails, and door corners. At that point, no amount of polishing fixes the problem.
The real skill in paint correction is not physical effort. It is knowing when to stop. Measuring paint thickness before starting, choosing the least aggressive compound that gets the job done, and inspecting under proper lighting after every pass are the habits that separate a professional result from a costly mistake. I have seen cars come in after DIY attempts where the owner used a heavy cutting compound on a rotary polisher without measuring paint depth first. The clear coat was gone on two panels. That is a respray job, not a detailing job.
For car enthusiasts who want to learn the process, start with a dual-action polisher and a medium finishing polish on a car with known paint history. Build the skill before reaching for heavy compounds. And if the paint is genuinely damaged, with deep oxidation, heavy swirl marks across every panel, or clear coat that is already peeling, get a professional assessment first. The role of professional detailing is not to replace your enthusiasm. It is to protect the investment you have already made.
— isaac’s
Professional cut and polish on the Sunshine Coast
Getting the cut and polish process right requires the correct equipment, the right compounds for your specific paint, and the judgement to stop before going too far. Com, Isaac’s Pro Detailing, brings all of that to your driveway, workplace, or wherever your car is parked across the Sunshine Coast.

The mobile workflow covers full decontamination, paint thickness assessment, machine cutting, and multi-stage polishing, followed by your choice of protective finish. Every job is assessed on its own merits before a compound or pad is selected. For car owners who want a flawless result without the risk of DIY mistakes, the professional mobile detailing workflow at Isaac’s Pro Detailing delivers paint correction that lasts.
FAQ
What does the cut and polish process do to car paint?
The cut and polish process removes a microscopic layer of clear coat using abrasive compounds to eliminate surface defects like swirl marks, scratches, and oxidation, then refines the surface with finer abrasives to restore gloss.
How often should you cut and polish a car?
Cut and polish should only be performed when paint defects genuinely require it, not as routine maintenance. Each session permanently removes clear coat, so frequent cutting risks depleting the protective layer over time.
What is the difference between cutting and polishing?
Cutting uses abrasive compounds to level the clear coat surface and remove defects. Polishing uses finer abrasives and softer pads to remove the haze and micro-scratches left by cutting, delivering the final gloss.
Can cut and polish fix deep scratches?
Cut and polish corrects surface defects within the clear coat layer. Deep scratches that reach the primer or bare metal require touch-up paint or a respray, not polishing.
What protection should go on after polishing?
Wax, synthetic paint sealant, or a ceramic coating should be applied immediately after polishing to lock in the correction and protect the freshly exposed clear coat from contamination and UV damage.