
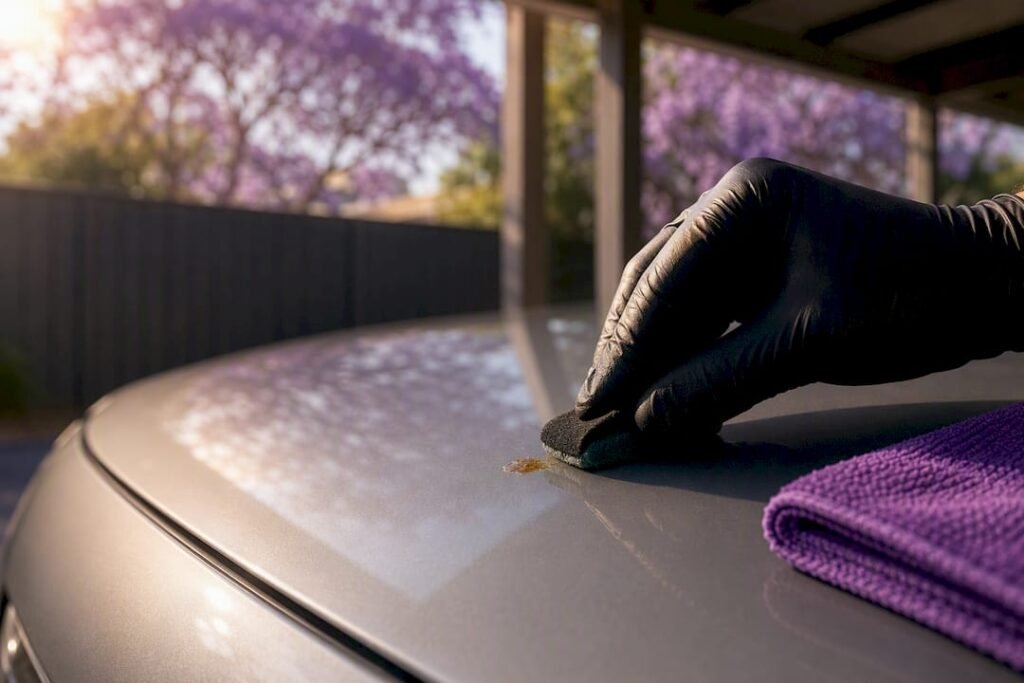
Wash and soften the sap first, then escalate only if needed: warm water and dwell time, a dedicated tar-and-sap remover or isopropyl alcohol on a small patch, and a clay bar for anything still bonded to the clear coat. Jumping straight to a razor blade or acetone is how a $20 fix turns into a $600 respray. Stop and call a professional detailer if the sap is baked on, spread across several panels, or sitting on a matte or satin finish.
TL;DR:
- Using gentle warmth and a proper wash can often remove fresh sap without risking damage, delaying more aggressive methods until necessary.
- Spot-treat small patches with specialized tar and sap removers or isopropyl alcohol, testing first to avoid harming clear coats or delicate finishes.
- Harsh hacks like razor blades, acetone, or petrol can cause irreversible damage, including scratches, paint etching, or clear coat stripping, leading to costly repairs.
- Regularly applying wax, sealant, or ceramic coatings creates a protective barrier, making future sap removal easier and preventing long-term damage.
- Seek professional detailers for baked-on, widespread, or delicate finishes to avoid worsening damage with DIY methods, especially on matte or satin surfaces.
Table of Contents
- How do you remove tree sap from a car safely?
- What’s the best way to clean sap without damaging paint?
- Why you should never use these DIY sap removal hacks
- How can you protect your car from tree sap damage?
- When should you call a professional detailer instead?
- What to check after removing sap from your car
- The gap between sap advice online and what actually protects your paint
- Get your paint sorted without the DIY guesswork
- Sources
- FAQ
How do you remove tree sap from a car safely?
Fresh sap comes off far easier than sap that’s had a week in the Queensland sun to bake on, so speed matters more than force here.
- Park in shade for a few minutes if the sap feels rock hard. A short warm-up softens it; leaving the car in full sun for hours does the opposite and bakes it in further.
- Wash the whole panel with proper car shampoo using the two-bucket method and a soft microfibre mitt, not a servo hose and dish soap.
- Apply snow foam or a soapy dwell over the sap spot and leave it for a few minutes to loosen the resin before you touch it.
- Spot-treat small patches with a dedicated tar and sap remover or isopropyl alcohol on a microfibre cloth, testing an inconspicuous spot first.
- Rinse and inspect under good light before deciding whether you need another gentle pass.
- Repeat softening rather than scrubbing harder if sap remains. Patience beats pressure every time.
- Seal the area with wax or sealant once it’s clean, so the next blob of sap has less to grip onto.
What’s the best way to clean sap without damaging paint?
Every method below works. The trick is using the mildest one that actually shifts the sap, and only reaching for the next tool when the current one genuinely fails.
Wash first, always. A two-bucket wash with a quality car shampoo lifts most fresh sap on its own, because sap that hasn’t cured yet is still soluble in soapy water. This also explains why washing your car soon after parking under a tree matters more than any product you keep in the shed.
Soften before you touch anything. Bowden’s Own notes sap hardens quickly in Australian heat, so a warm water rinse or around ten minutes of gentle sun warming can make dried sap workable again before you apply a remover. A long-dwell snow foam does the same job while you’re washing the rest of the car, and it’s the step most people skip.
- Warm water rinse for lightly hardened sap
- Snow foam or prewash dwell for some time on stubborn spots
- Brief sun exposure only when sap is fully cured
Solvents, used properly. Dedicated tar-and-sap removers are formulated for exactly this job and are the safer first solvent to try. Isopropyl alcohol at 70 to 90 percent also works, applied sparingly on a microfibre cloth rather than poured on. Whichever you choose, spot-test on a small hidden area first: CarsGuide points out that solvents can shift sticky residue but they cannot undo clear-coat etching, so overusing a stronger chemical raises your risk without adding much benefit.
Emergency options exist, cautiously. A dab of WD-40 or a light cooking oil can loosen sap in a pinch, but both leave an oily residue that needs a proper wash afterwards, and neither is a long-term technique. Treat them as a last resort before a wash, not a replacement for one.
Clay bar for anything still bonded. If sap has left a rough patch you can feel with a fingertip after washing, a clay bar or clay towel lifts contamination that solvents can’t fully shift. Lubricate generously, work in small sections with light pressure, and fold the towel often so you’re never dragging grit across the paint.
Polish only if you’re confident. A light machine-free polish can remove faint dulling once the sap is gone. If you see etching, a ring, or a dull patch that won’t buff out, that’s paint correction territory, best left to a machine polisher and someone who knows how far a pad can safely cut. Matte finishes, raw plastics, and vinyl wraps need extra caution: solvents and clay can dull or lift these surfaces in ways gloss paint tolerates far better.
Pro Tip: Fold your clay towel to a fresh face every few passes. A dirty section just drags grit across the clear coat instead of lifting the sap.
Why you should never use these DIY sap removal hacks
Plenty of hacks circulate online promising a five-second fix. Most of them cause more damage than the sap ever would.
- Razor blades and scraping dig scratches into clear coat that no amount of polishing hides, and often mean a respray.
- Acetone, lacquer thinner, petrol, and strong thinners strip wax, sealant, and sometimes the clear coat itself. YourLifeChoices warns against these quick fixes precisely because the damage they leave behind is often permanent, unless a manufacturer’s safety data sheet confirms compatibility with your specific paint.
- Aggressive rubbing or letting suds dry on the panel causes swirl marks and marring, and strips away whatever protection you’ve already applied.
- If you’re genuinely desperate, apply a tested solvent to a cotton bud, dab rather than scrub, spot-test first, and rinse immediately afterwards.
How can you protect your car from tree sap damage?
Prevention is cheaper than any of the above, and it takes less effort than a Saturday spent scrubbing.
- Park smarter during sap season. Avoid parking directly under gum trees, jacarandas, or pines where possible, and check the car over every few days if you can’t avoid it.
- Layer on surface protection. A quality wax lasts weeks, a sealant a few months, and a ceramic coating can hold up for years, giving sap less to bond to and making it far easier to wipe off before it cures.
- Keep washing regularly. A routine snow foam and two-bucket wash removes light contamination before it bonds, which keeps your protective layer doing its job.
- Get older paint assessed first. If the clear coat is already thin, oxidised, or previously repaired, get it checked before layering wax or ceramic over the top, since protection applied to compromised paint won’t hold.
When should you call a professional detailer instead?
Some sap jobs simply aren’t a weekend DIY task, and knowing the line saves you money rather than costing you more.
- Baked-on sap across multiple panels, especially if it’s been there for weeks, usually needs stronger safe solvents and equipment most home garages don’t have.
- Matte, satin, or soft-touch finishes are unforgiving of solvents and clay, and a wrong move here is expensive to fix.
- Visible etching or dulling after a DIY attempt means the clear coat has already taken damage, and further scrubbing only makes it worse.
AutoGuru notes that professional detailers assess the contamination before choosing a solvent, then use machine polishing and correction where needed, finishing with a protective coating that resists the next round of sap. Isaac’s Pro Detailing Sunshine Coast works this way on-site, running everything from cut and polish to full ceramic coatings using eco-friendly products, so you don’t have to drive anywhere to get it sorted.
Pro Tip: Photograph the affected panel before you attempt anything yourself. If you do end up calling a detailer, it helps them see how the sap sat before any product touched it.
What to check after removing sap from your car
Once the sap is gone, check your work properly rather than assuming it’s fixed.
Inspect the panel under different light, direct sun and shade, since dulling and light etching often only show up at certain angles. If the paint looks flat or scarred rather than just faded, that’s your cue to stop and book a professional rather than reach for a heavier polish. Once you’re satisfied, apply wax, sealant, or a graphene top-up straight away to reseal the surface, and jot down which product actually worked, because you’ll want that note next time a jacaranda drops its load on the bonnet.

The gap between sap advice online and what actually protects your paint
Most sap guides online treat every method as equally safe, listing acetone next to clay bar as if they carry the same risk. They don’t. The CarsGuide framing is the one that holds up under scrutiny: solvents remove contamination, they don’t repair etching, so the safest path is always the mildest tool that works, repeated as many times as it takes.

The conventional advice also underrates dwell time. Everyone wants a wipe-and-done fix, but a few extra minutes of warm water or snow foam softening does more for the paint than any stronger chemical applied in a hurry. That’s the bit DIY hacks online consistently skip, because “wait ten minutes” doesn’t make for a satisfying video.
What should actually change in how owners approach this? Treat sap the way a trained detailer treats it: wash first, soften second, escalate only when the gentler step genuinely fails, and know your own limit. The training standards behind professional paint work exist because the margin between “removed the sap” and “damaged the clear coat” is thinner than most people assume.
— isaac’s
Get your paint sorted without the DIY guesswork
If the sap’s already left a dull patch or you’d rather skip the scrubbing altogether, Isaac’s Pro Detailing Sunshine Coast comes to your home, work, or the beach car park and sorts it on the spot, no dropping the car off, no waiting around a workshop.

For sap that’s bonded hard or left etching behind, the Deluxe Detail and Revival Detail packages cover the wash, decontamination, and cut-and-polish work needed to bring the panel back properly, priced from $375 to $775 depending on your vehicle and the package. If you’d rather never deal with this again, the Ultimate Protection Package layers wax, sealant, and ceramic protection so the next sap drop wipes off in seconds instead of bonding overnight, and the graphene spray sealant coating is a lighter-touch option if you want solid protection without the full ceramic commitment. Book a mobile visit through the Isaac’s Pro Detailing Sunshine Coast site and get a quote based on your car and the damage you’re actually looking at.
Sources
- How to remove tree sap from your car’s paintwork — CarsGuide
- Don’t be a sap. Tree sap damage can be serious — YourLifeChoices
- Tree sap or bird poo on your paint — AutoGuru
FAQ
How do I get hardened tree sap off my car?
Warm the panel gently in shade or with a warm water rinse first, then apply a dedicated tar-and-sap remover or isopropyl alcohol to a microfibre cloth and work it in short, gentle passes. If it’s still bonded after that, a clay bar lifts what solvents leave behind, and repeated gentle attempts beat one aggressive scrub.
Will WD-40 remove tree sap from car paint?
WD-40 can loosen sap in a pinch, but it leaves an oily residue that needs a proper wash straight after. It’s an emergency option, not a first choice ahead of a dedicated sap remover or a wash and soften approach.
Can tree sap permanently damage car paint?
Yes, if it’s left to bake on for weeks or removed with harsh hacks like razor blades or acetone. YourLifeChoices and CarsGuide both note that solvents can lift the sap itself but can’t reverse clear-coat etching once it’s happened.
How much does professional sap removal usually cost?
It depends on how much correction the paint needs. Isaac’s Pro Detailing Sunshine Coast’s Deluxe Detail and Revival Detail packages run from $375 to $775, while a standalone cut and polish quote is available on request depending on the extent of etching.